
Transitioning to electric vehicle ownership is an exciting milestone, but it fundamentally transforms how you fuel your daily commute. While public charging networks are expanding rapidly across highways and urban centers, the true convenience of driving an electric vehicle lies right in your own garage. Waking up every single morning to a fully “topped-off” battery eliminates range anxiety and frees you from the routine of visiting traditional fueling stations.
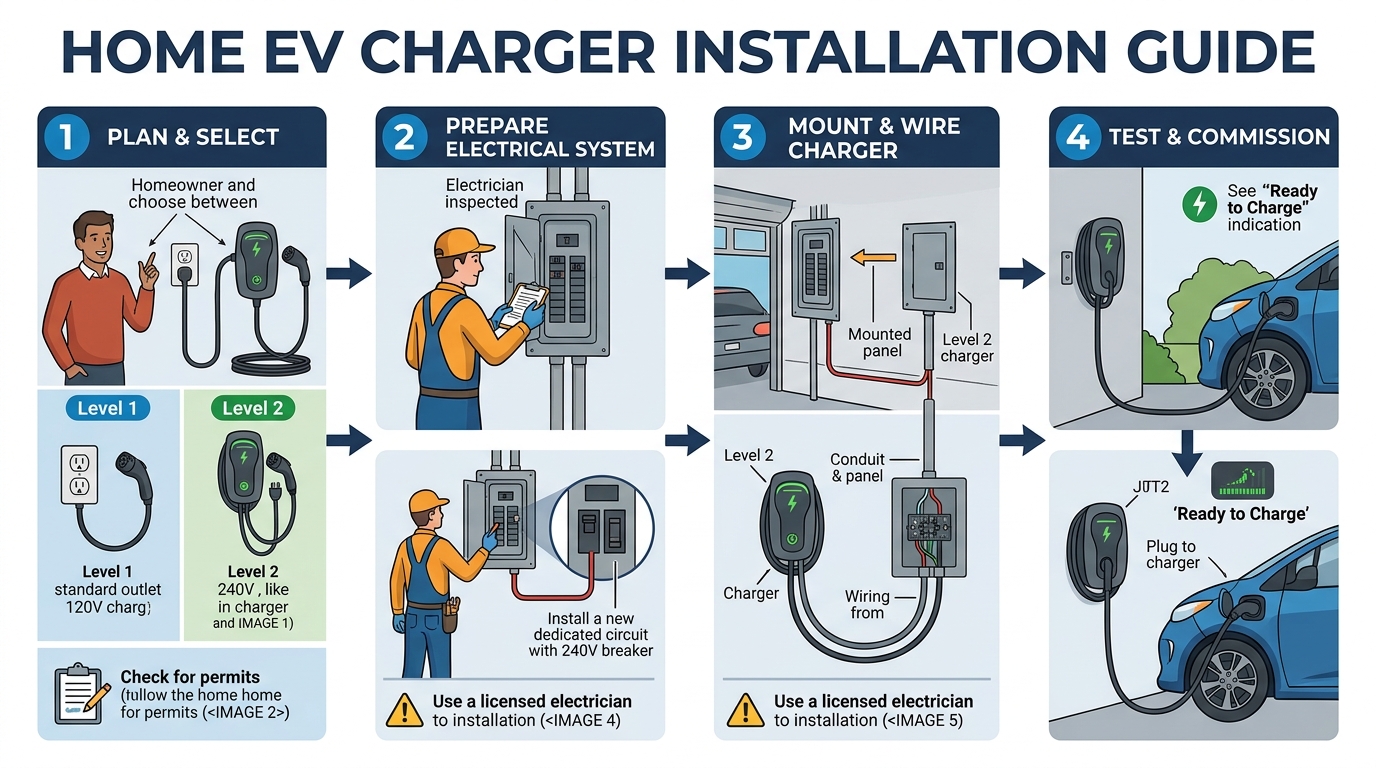
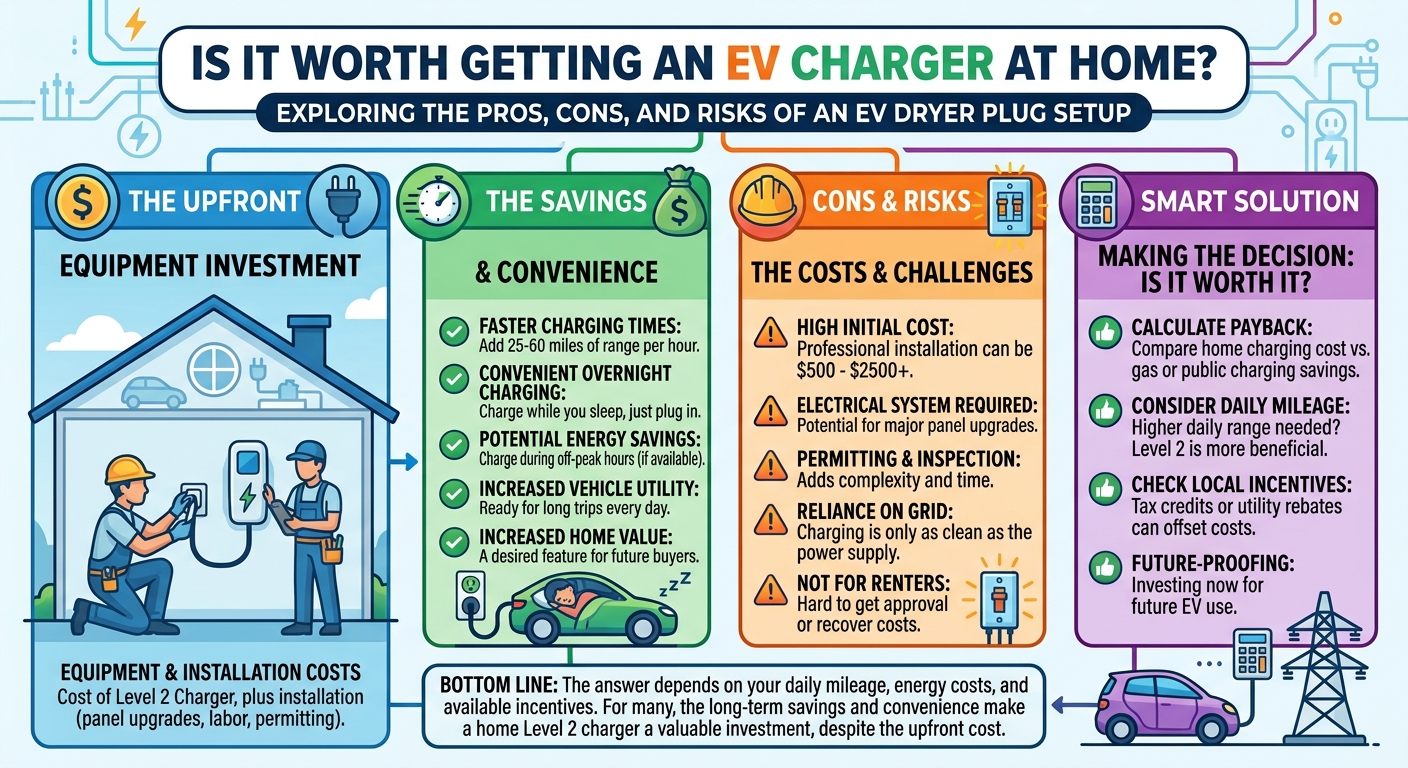
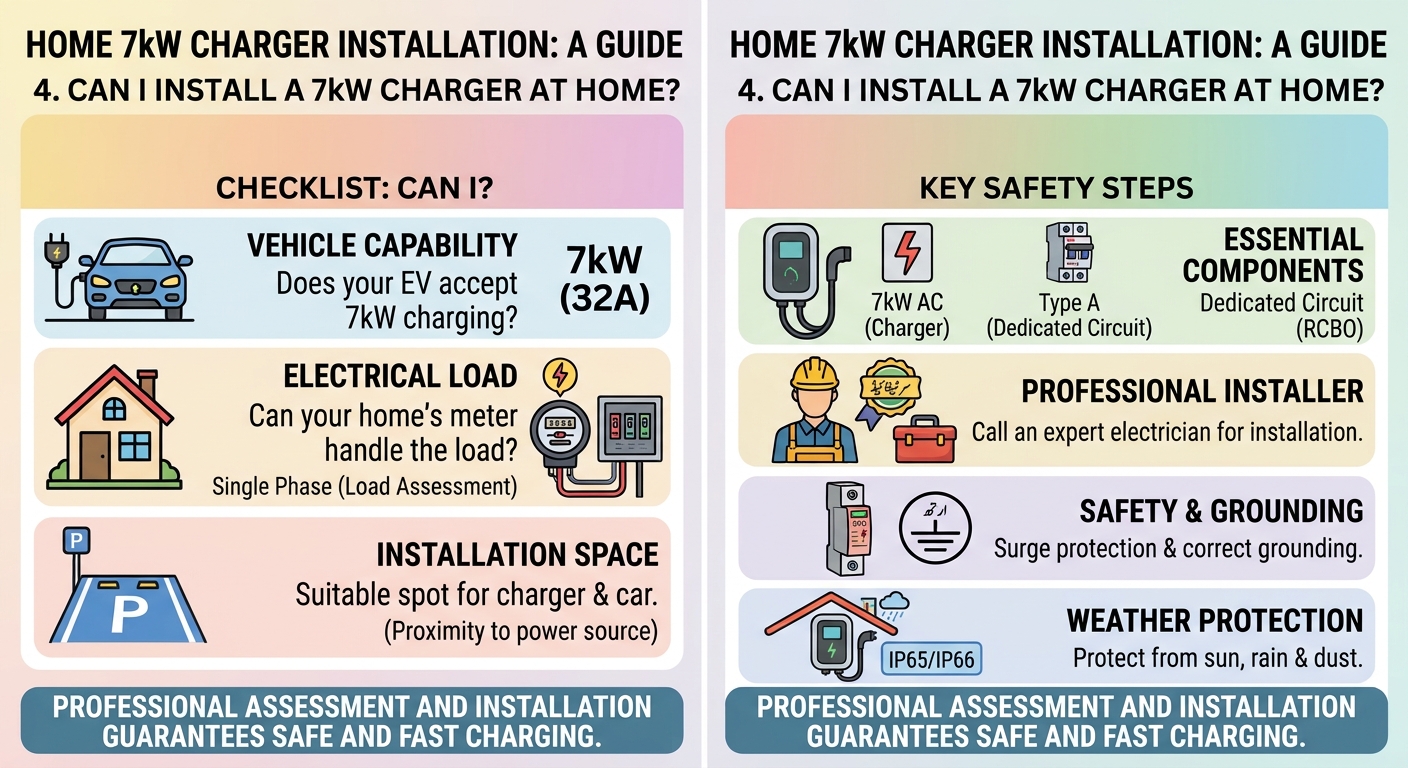
However, unlocking this ultimate level of convenience requires installing dedicated home infrastructure. To answer directly: To install a home Level 2 EV charger, you need to assess your home’s electrical capacity, choose a certified electrician, pull the proper permits, and mount and wire the unit to a dedicated 240-volt circuit.
While the concept sounds simple, executing a safe, code-compliant, and future-proof installation involves navigating complex electrical calculations, panel upgrades, circuit breaker specifications, and hardware selection. Here is an exhaustive, 2000-word masterclass guiding you through every single phase of the home EV charger installation process.
Phase 1: Evaluating Your Home’s Electrical Capacity and Service Load
Before purchasing any hardware or calling an electrician, you must understand your home’s existing electrical heartbeat. Electric vehicle chargers—specifically Level 2 units running on 240 volts—draw massive amounts of continuous electrical current. Failing to evaluate your home’s electrical service capacity beforehand can result in tripped breakers, overloaded main panels, or dangerous electrical hazards.
1. Analyzing Your Main Service Panel (AMP Rating)
Most modern single-family homes built in recent decades feature either a 100-amp, 150-amp, or 200-amp electrical service panel. Older homes might still operate on obsolete 60-amp or 100-amp systems.
-
100-Amp Panels: If your home runs on a 100-amp service and powers heavy electric appliances like central air conditioning, an electric clothes dryer, an electric oven, or a water heater, your total load might already push close to safety limits. Adding a continuous 40-amp or 50-amp EV load to a 100-amp panel often requires a professional load calculation or a costly panel upgrade.
-
200-Amp Panels (The Gold Standard): A modern 200-amp main service panel generally possesses enough headroom to accommodate a dedicated Level 2 EV charging circuit without major modifications.
-
Subpanels and Garage Outbuildings: If your garage is detached from your main house, your electrician must evaluate whether your existing subpanel wiring can handle heavy 240V continuous draws.
2. Conducting a NEC Load Calculation
According to the National Electrical Code (NEC), electricians must perform a standard load calculation before adding high-draw appliances to a home. This calculation totals the square footage of your home along with all continuous and non-continuous appliance loads to determine your peak electrical demand. If your total demand exceeds 80% of your main panel’s rating, your electrician will recommend either a panel service upgrade or the installation of a smart energy management system.
To see how home power distributions integrate with different hardware classes, explore our guide on various charging types.
Phase 2: Choosing the Right Hardware: Hardwired vs. Plug-In Units
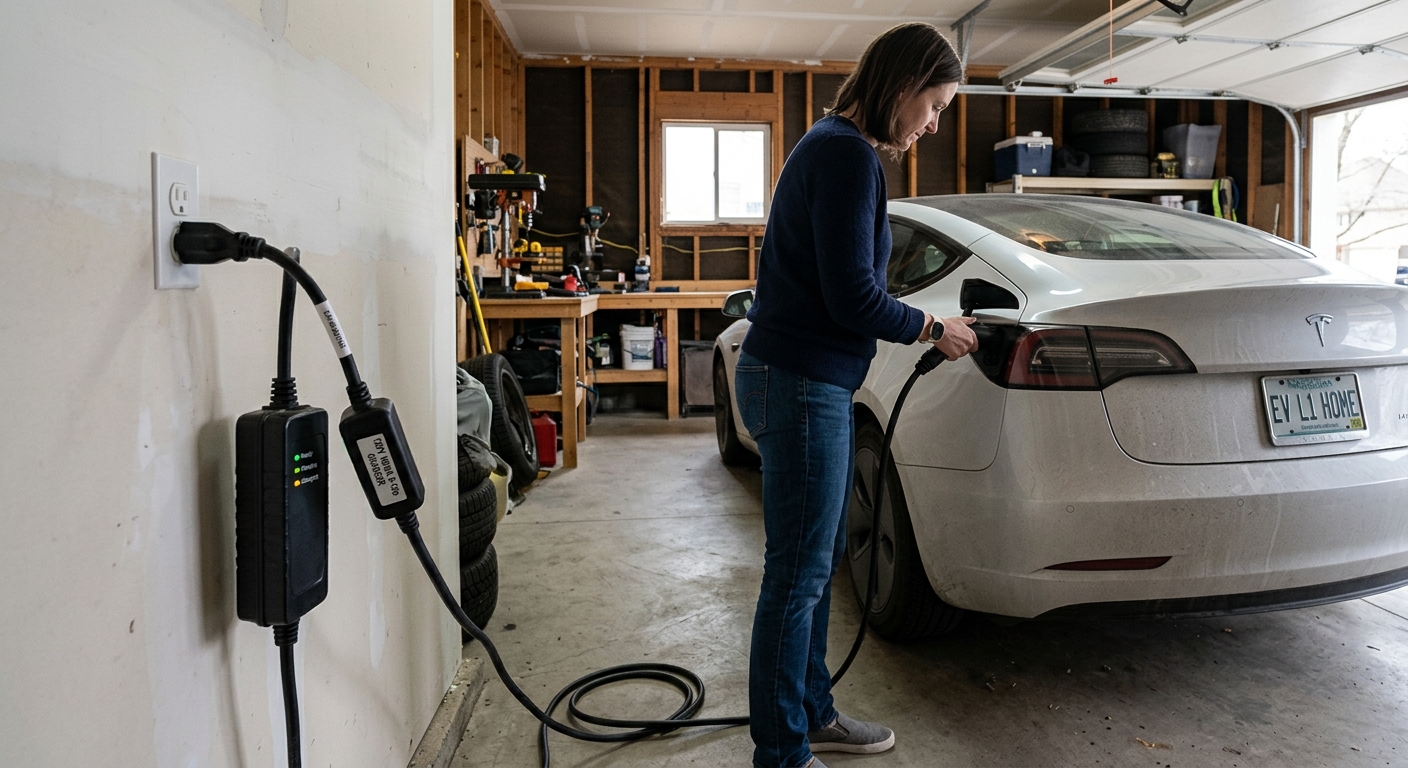
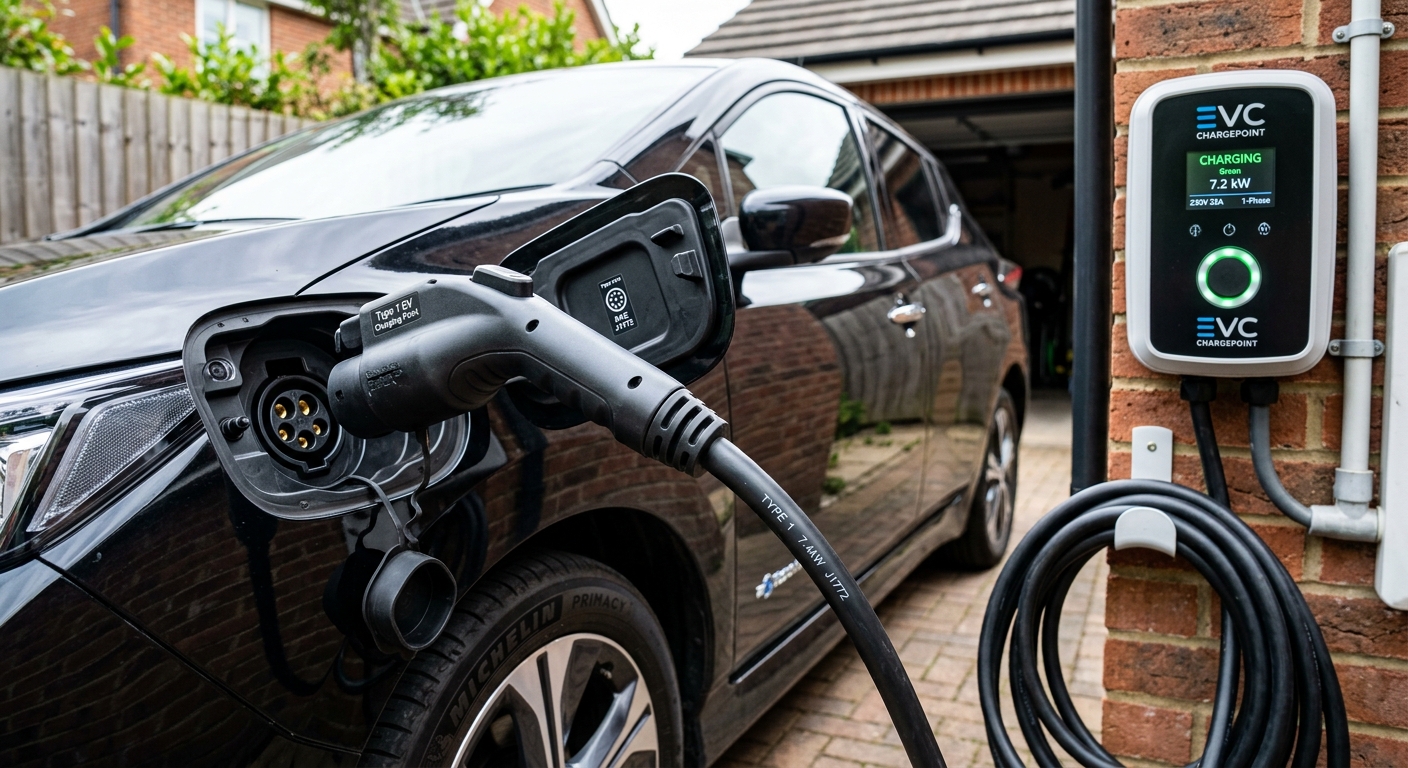
Once you confirm your electrical capacity, you must select the physical charging unit. Home Level 2 chargers typically fall into two categories: plug-in units and hardwired units. Each comes with distinct installation requirements, safety implications, and speed profiles.
1. Plug-In Chargers (NEMA 14-50 Outlets)
Plug-in EV chargers connect to a heavy-duty 240-volt wall outlet—most commonly a NEMA 14-50 receptacle (the same style used for electric RVs and ranges).
-
Pros: They offer portability. If you move homes, you can unplug the unit and take it with you. They also allow easier DIY swapping if the charger ever malfunctions.
-
Cons: They require a heavy-duty industrial-grade outlet (such as a Bryant or Hubbell receptacle). Cheap retail outlets from big-box hardware stores can overheat, melt, or catch fire when subjected to hours of continuous high-amperage draw. Furthermore, modern electrical codes (such as NEC 2020 and later) often require a costly GFCI (Ground Fault Circuit Interrupter) breaker at the main panel for any garage outlet, which can occasionally cause nuisance tripping when paired with an EV charger that has its own internal GFCI protection.
2. Hardwired Chargers
Hardwired units are permanently wired directly from your electrical panel into the charger chassis through waterproof conduit.
-
Pros: Hardwiring eliminates a potential point of failure (the plug and socket connection), providing a safer, cleaner, and more robust long-term installation. It also bypasses the strict GFCI breaker code requirements associated with standard outlet receptacles in garages, ensuring uninterrupted charging sessions.
-
Cons: They are permanently fixed to the wall and require professional tools and licensing to disconnect or relocate.
For insights on how smart connectivity and app-based scheduling can optimize your chosen hardware, check out our guide on smart home EV solutions.
Phase 3: Selecting Amperage and Circuit Breakers
The speed at which your home charger replenishes your vehicle depends entirely on the amperage of the circuit you install. Level 2 chargers typically range from 16 amps up to 80 amps, operating on 240 volts.
1. The 80% Continuous Load Rule
Electrical components should never run at maximum capacity continuously without thermal safety margins. Under the National Electrical Code, continuous loads (defined as drawing current for three hours or more) must not exceed 80% of the circuit’s maximum rating.
-
To get a 32-Amp Output: You need a 40-amp double-pole circuit breaker paired with heavy-duty 8 AWG copper wiring.
-
To get a 40-Amp Output: You need a 50-amp double-pole circuit breaker paired with 6 AWG copper wiring.
-
To get a 48-Amp Output (Maximum for most residential EVs): You need a 60-amp double-pole circuit breaker paired with 4 AWG copper wiring.
2. Matching Your Vehicle’s Onboard Charger (OBC) Limits
Installing a massive 48-amp or 80-amp home charger is unnecessary if your vehicle’s internal onboard charger can only accept 32 amps. Always check your specific EV’s technical specifications before purchasing high-amperage infrastructure.
Phase 4: Hiring a Certified Electrician and Pulling Permits
While watching DIY tutorial videos is tempting, installing a high-voltage 240-volt residential circuit is not a weekend home-improvement project for amateurs. Working inside a live electrical service panel exposes you to lethal voltages, arc flashes, and severe fire hazards.
1. Why Professional Certification Matters
-
Code Compliance: Local municipalities enforce strict building and electrical codes. An unpermitted or improperly wired EV charger can void your homeowner’s insurance policy in the event of an electrical fire.
-
Permit Acquisition: Most local governments require an electrical permit for installing a 240V circuit or EV charger. A licensed electrician handles this paperwork, ensuring the installation passes municipal inspection.
-
Rebates and Incentives: Many local electric utility companies offer substantial financial rebates or reduced overnight electricity rates, but these programs almost universally require proof of a professional, permitted installation by a licensed contractor.
To explore safety compliance, equipment warranties, and professional advisory resources, visit us at EV Charger Advisor.
Phase 5: Step-by-Step Installation Workflow
When your licensed electrician arrives to perform the installation, they generally follow a meticulous, multi-step engineering workflow:
-
Site Assessment and Path Mapping: The electrician determines the shortest and safest cable routing path from your main electrical service panel to your preferred garage mounting location, minimizing expensive conduit runs.
-
Panel De-energization: For safety, the electrician shuts off the main breaker to safely access the interior busbars of your service panel.
-
Breaker Installation: They install a new dedicated double-pole breaker matching your charger’s required amperage rating.
-
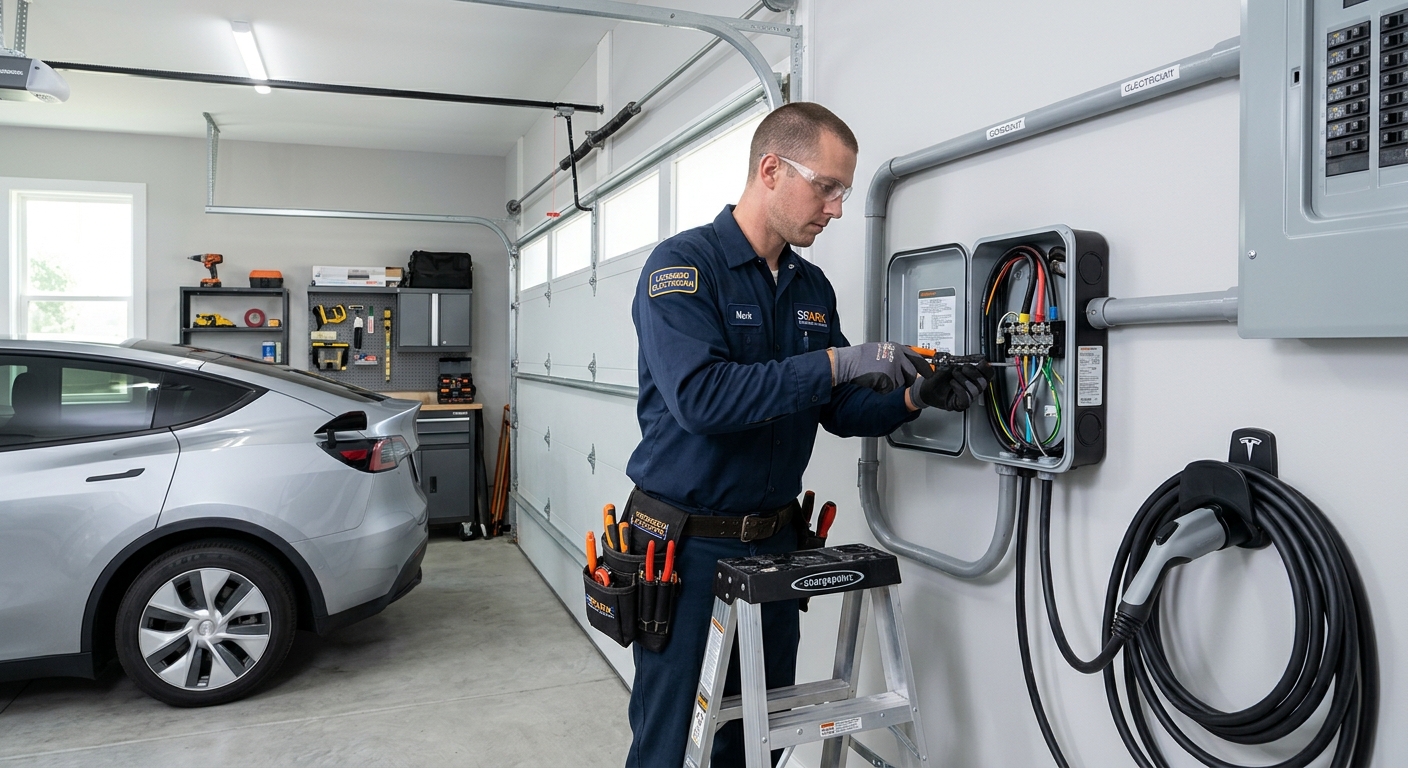
Wiring and Conduit Run: Heavy-gauge copper wires encased in protective metallic or PVC conduit are run along walls, through ceilings, or underground to the garage charging station.
-
Mounting the Charger: The charging unit is securely bolted into wall studs or masonry using heavy-duty anchors to support the weight of the unit and daily cable handling.
-
Termination and Testing: Wires are securely torqued to manufacturer specifications inside the charger terminal blocks. The system is re-energized, tested for ground fault safety, and verified with diagnostic equipment.
Summary: Key Takeaways for Home EV Charging Success
-
Always evaluate your main electrical panel capacity and adhere to the 80% continuous load rule when sizing your circuit breaker.
-
Choose between plug-in convenience and hardwired safety, and always hire a certified electrician to pull proper permits and protect your insurance coverage.

Leave a Reply