
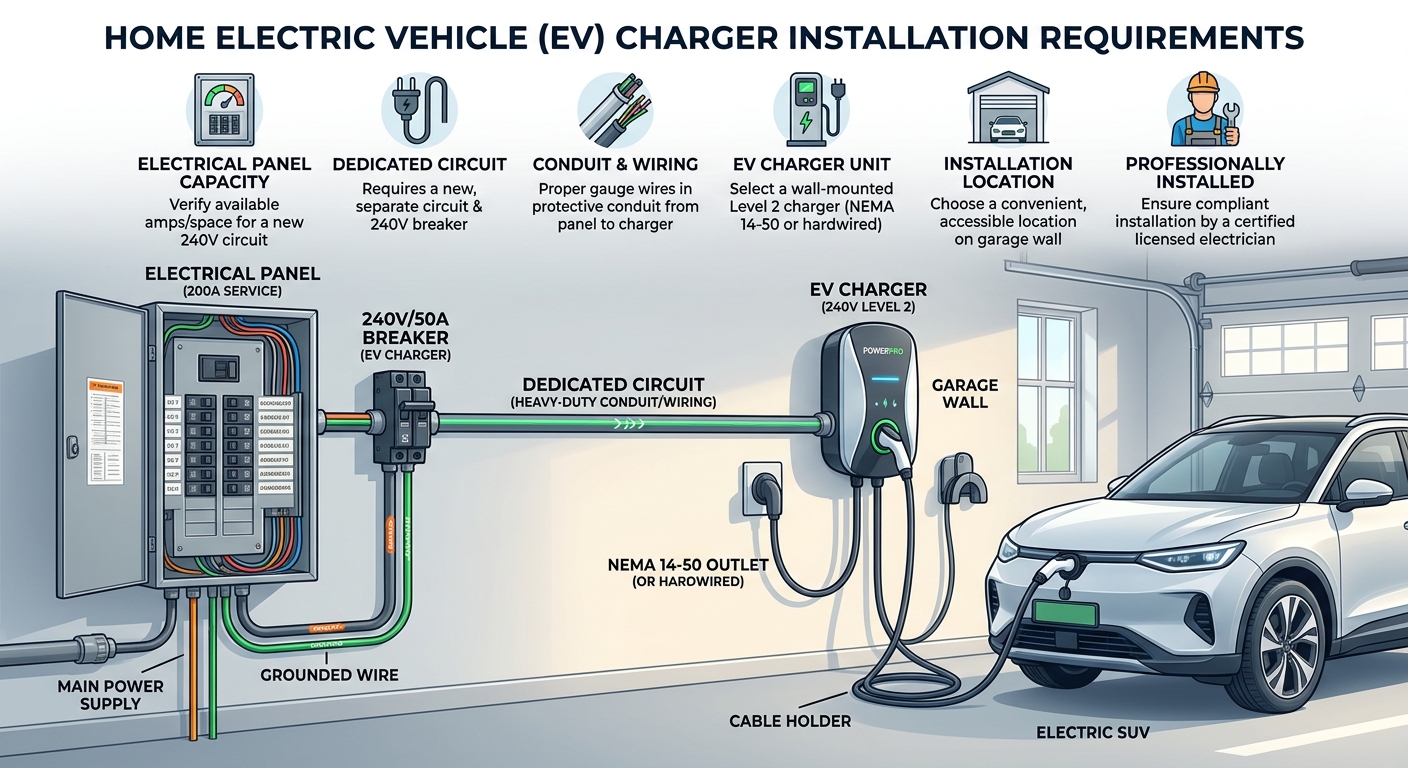
Installing a dedicated residential electric vehicle (EV) charging station is the most efficient way to fuel an electric car at home, restoring 20 to 44 miles of driving range per hour over a high-voltage 240-volt single-phase branch circuit. Moving beyond standard 120-volt Level 1 trickle charging requires careful planning around garage or driveway infrastructure. Homeowners and property managers evaluating this electrical upgrade must understand the exact physical, hardware, and safety components needed for a seamless installation.
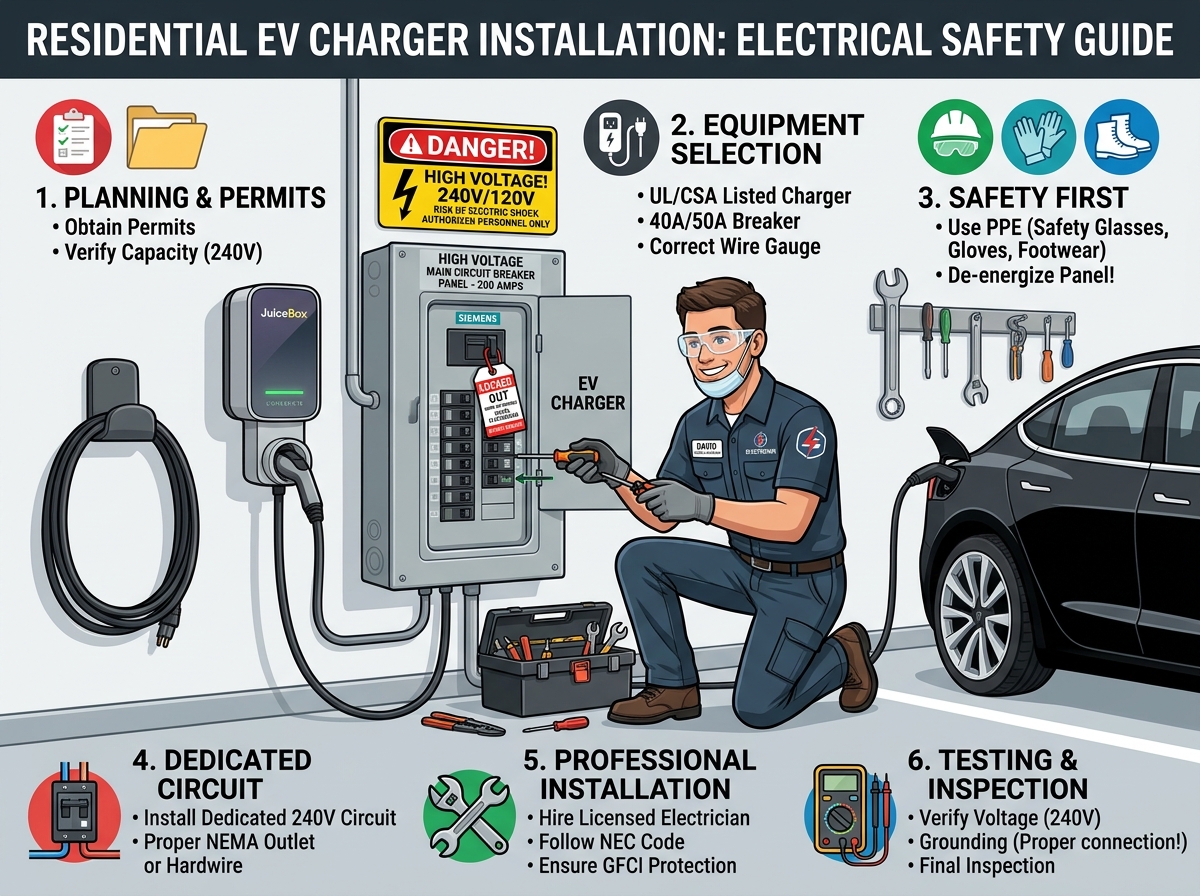
Installing a home EV charger requires a compatible electrical panel, a suitable Level 2 charger unit, and a licensed electrician to manage safe wiring, mounting, and code compliance.
Under National Electrical Code (NEC Article 625) standards, satisfying main service panel headroom rules, wire conductor sizing, overcurrent protection, and local municipal permitting ensures that home charging infrastructure operates safely and reliably for years to come.
For complete hardware reviews, installer guides, and panel load calculators, visit EV Charger Advisor.
1. The Core Infrastructure Requirements
A successful residential Level 2 installation relies on three primary structural pillars:
A. A Compatible Electrical Panel & Load Assessment
-
Service Panel Headroom: EV chargers operate as high-amperage continuous loads. Your main electrical panel (typically 100A, 150A, or 200A) must have sufficient spare capacity to support a continuous draw for several hours.
-
NEC Article 220 Calculations: A licensed electrician performs an electrical load calculation accounting for existing HVAC, water heating, and kitchen appliances. On capacity-constrained panels (such as 100A services), installing an Electric Vehicle Energy Management System (EVEMS) under NEC 625.42 allows dynamic load throttling to bypass an expensive $2,500–$5,000 main service panel upgrade.
B. Selecting the Right Level 2 Charger Unit
-
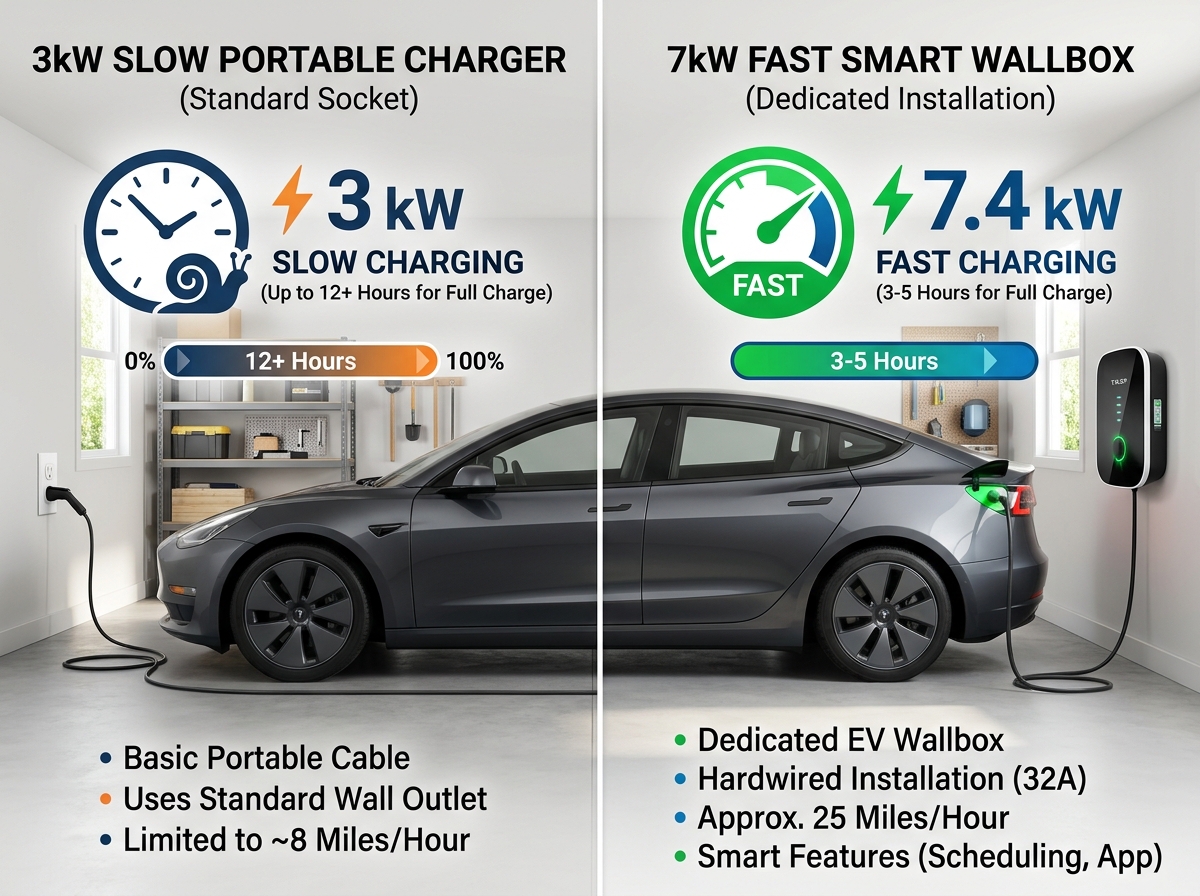
Plug-In vs. Hardwired Wallboxes: Plug-in units (NEMA 14-50 / 6-50) offer portability but cap continuous charging at 40 Amps (9.60 kW output). Direct hardwiring supports faster 48-Amp continuous output (11.52 kW), eliminates socket thermal wear, and avoids the requirement for expensive upstream 240V GFCI circuit breakers.
-
Smart Energy Management: Choosing a Wi-Fi-enabled smart wallbox provides features such as time-of-use (TOU) scheduling, automated solar surplus diversion, and real-time power tracking.
C. Professional Installation by a Licensed Electrician
-
Safe Circuit Protection (NEC 125% Rule): Circuit breakers and wiring must be sized to 125% of the charger’s continuous current output:
-
48-Amp Continuous Charger (11.52 kW): Requires a dedicated 60-Amp double-pole circuit breaker paired with #6 AWG copper conductors.
-
40-Amp Continuous Charger (9.60 kW): Requires a dedicated 50-Amp double-pole circuit breaker paired with #6 AWG copper conductors.
-
32-Amp Continuous Charger (7.68 kW): Requires a dedicated 40-Amp double-pole circuit breaker paired with #8 AWG copper conductors.
-
-
Permitting and Inspections: Licensed electricians secure necessary municipal permits and schedule official inspections to verify compliance with local building codes.
To learn more about how charger power levels and wire sizes compare, check out our guide on EV charging types.
2. Physical Mounting & Site Preparation
Along with electrical requirements, proper physical placement ensures long-term usability and hardware protection:
-
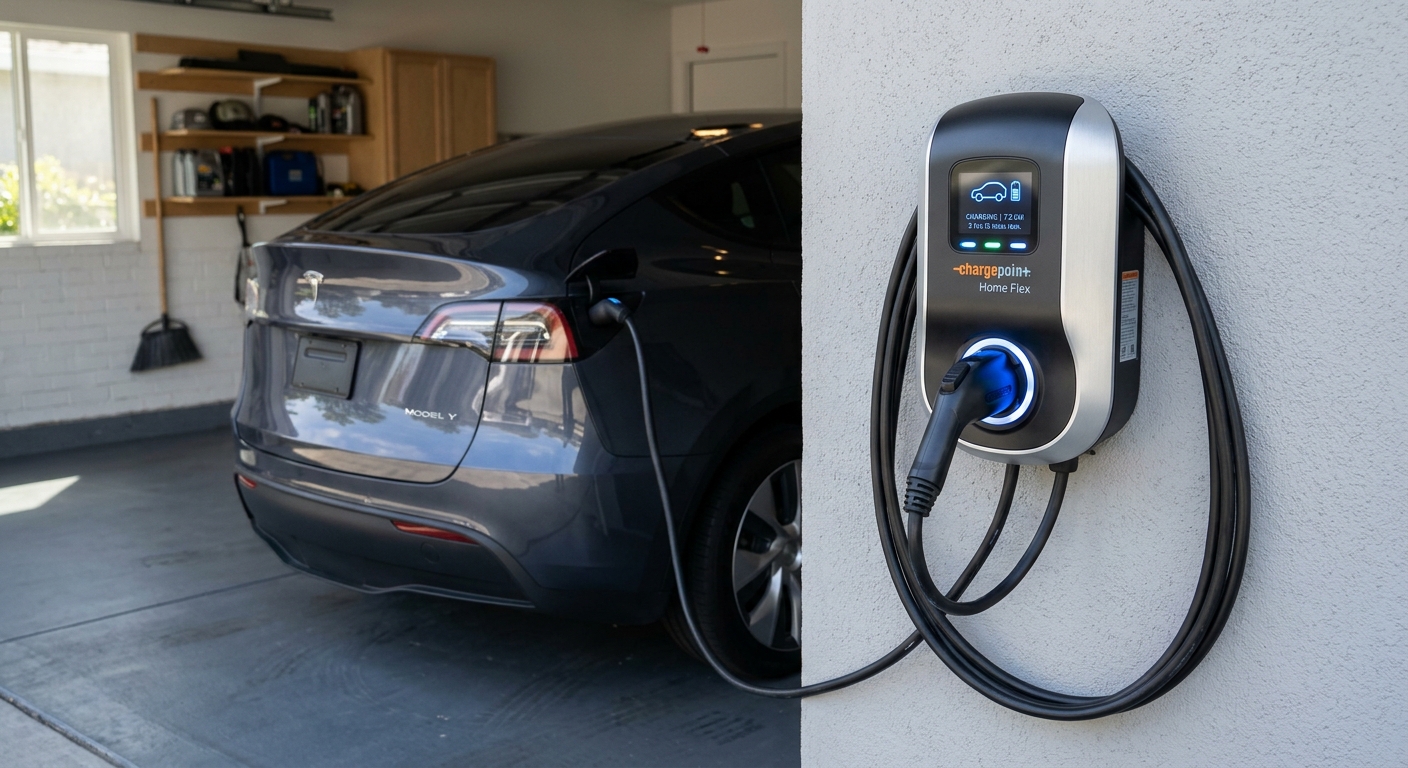
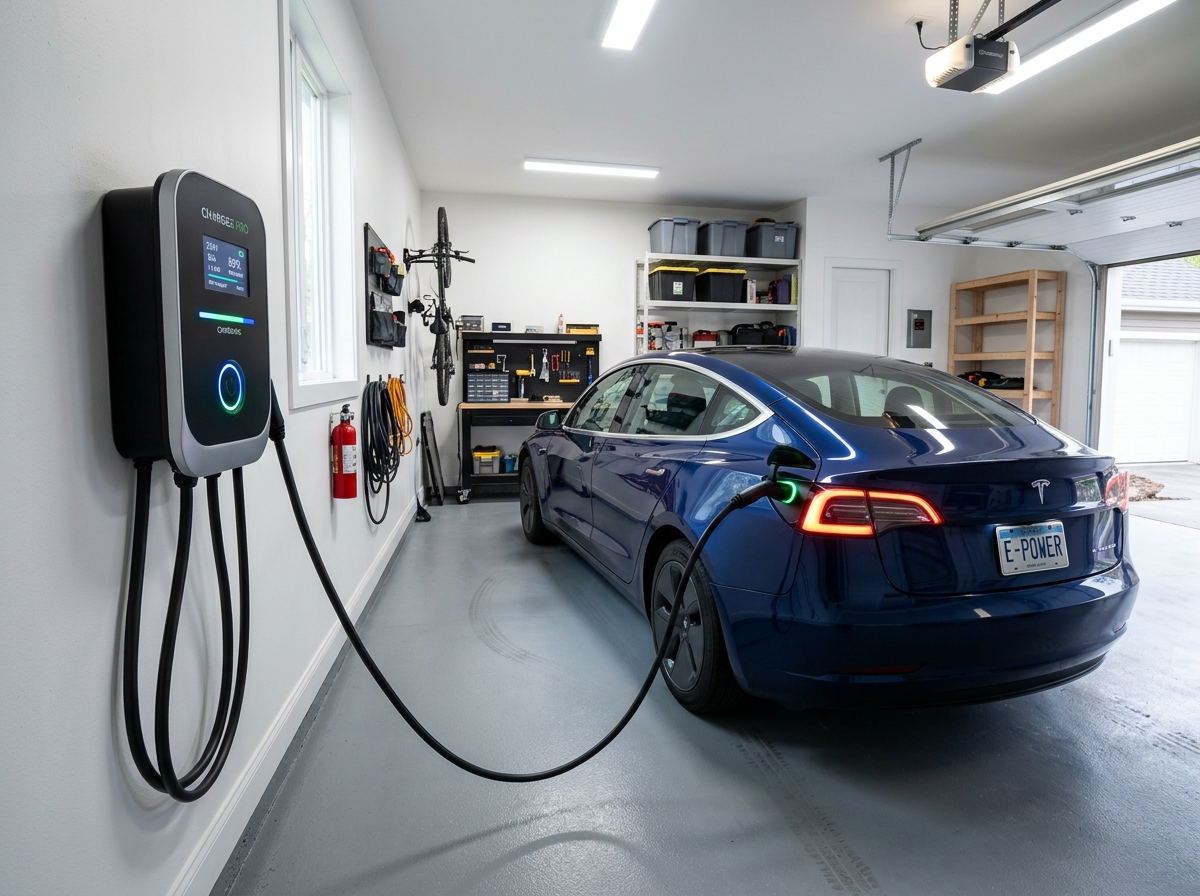
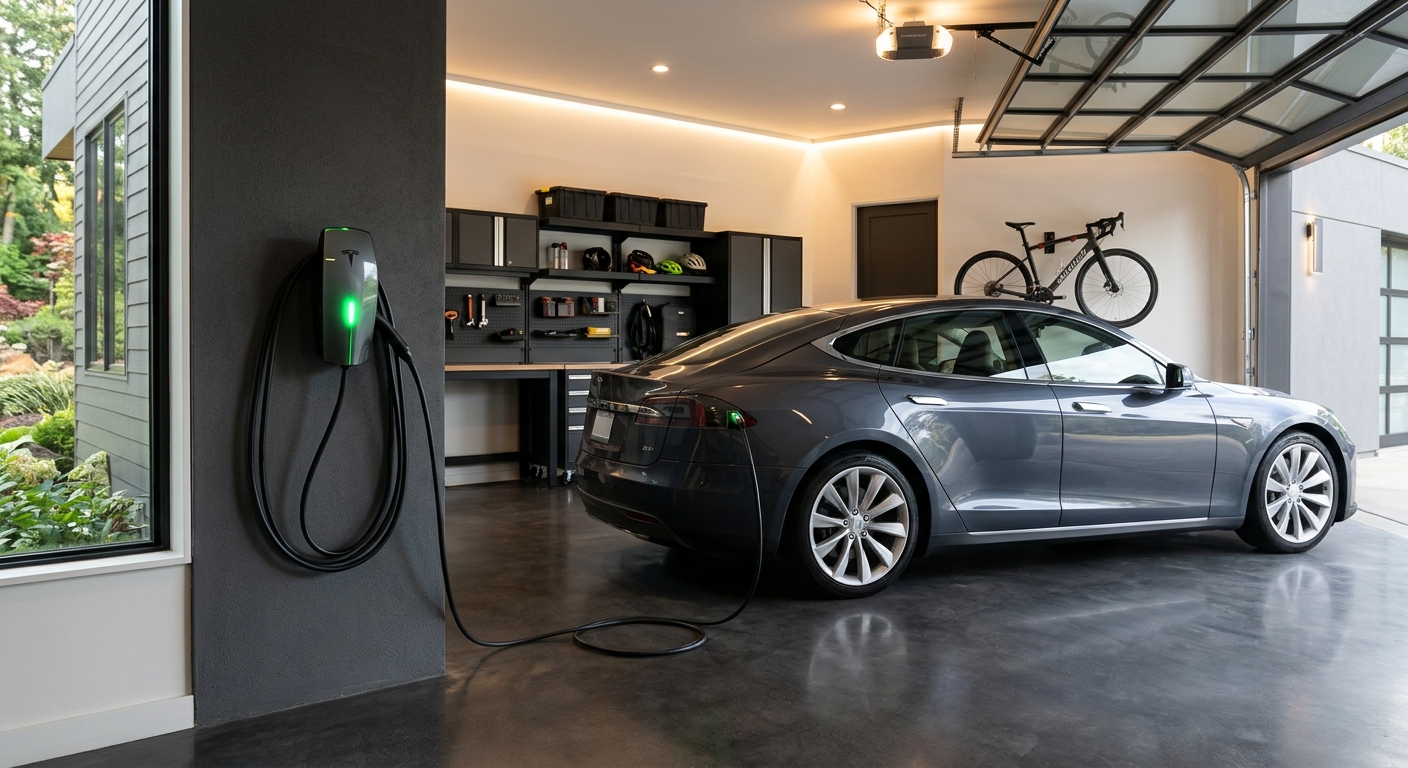
Mounting Height Guidelines: Wallboxes should be mounted between 18 inches (indoors) or 24 inches (outdoors) and 48 inches above floor level to prevent mechanical damage and ensure accessibility.
-
Cable Reach: Standard charging cables span 18 to 25 feet. Position the charger so the cable comfortably reaches the vehicle’s charge port without stretching across walkways or creating tripping hazards.
-
Weather Resistance Ratings: Outdoor installations require wallboxes rated NEMA 3R or NEMA 4 (IP65+) to protect internal solid-state electronics against rain, snow, and ambient thermal extremes.
To explore Wi-Fi-enabled smart wallboxes engineered with integrated load management features, read our guide on smart chargers.
3. Practical Performance & Charging Time Metrics
Evaluating required circuit sizing alongside actual range delivery helps match charging hardware to daily driving needs:
A. 32-Amp Level 2 Setup (40A Breaker / #8 AWG Copper Wire)
-
Continuous Power Output: 7.68 kW
-
Replenishment Rate: Adds 20 to 28 miles of driving range per hour
-
Time to Add 45 kWh: Approximately 5 Hours and 50 Minutes
B. 48-Amp Level 2 Hardwired Setup (60A Breaker / #6 AWG Copper Wire)
-
Continuous Power Output: 11.52 kW
-
Replenishment Rate: Adds 36 to 44 miles of driving range per hour
-
Time to Add 45 kWh: Approximately 3 Hours and 55 Minutes
-
Circuit Efficiency: Sized with heavy #6 AWG copper conductors over standard runs, the circuit maintains stable operation with minimal voltage drop—well within the NEC 3% efficiency limit.
Comparison Table: Home EV Charger Installation Requirements
| Requirement Parameter | Plug-In Level 2 Setup | Hardwired Level 2 Setup |
| Receptacle / Terminal | Industrial NEMA 14-50 or 6-50 Outlet | Direct Hardwired Terminal Block |
| Maximum Continuous Current | 40 Amps (80% Rule) | 48 Amps Continuous |
| Max Power Output (240V) | 9.60 kW | 11.52 kW |
| Circuit Breaker Sizing | 50A Double-Pole Breaker | 60A Double-Pole Breaker |
| Conductor Wiring Gauge | #6 AWG Copper Wire | #6 AWG Copper Wire |
| GFCI Breaker Required? | YES (NEC 625.54) | NO (Internal Wallbox GFCI) |
| Installer Requirement | Licensed Electrician | Licensed Electrician |
Summary & Key Takeaways
-
Three Core Pillars: Successful installation requires an adequate electrical panel, an appropriate Level 2 charger, and professional installation by a licensed electrician.
-
Adhere to the NEC 125% Rule: A 48A continuous wallbox requires a dedicated 60A double-pole circuit breaker and #6 AWG copper wire.
-
Hardwiring Is Superior: Direct hardwiring delivers maximum 11.52 kW output while bypassing wall socket wear and upstream GFCI breaker costs.
-
Obtain Permits: Always ensure municipal electrical permits are pulled and official inspections are conducted for warranty and insurance compliance.

Leave a Reply