
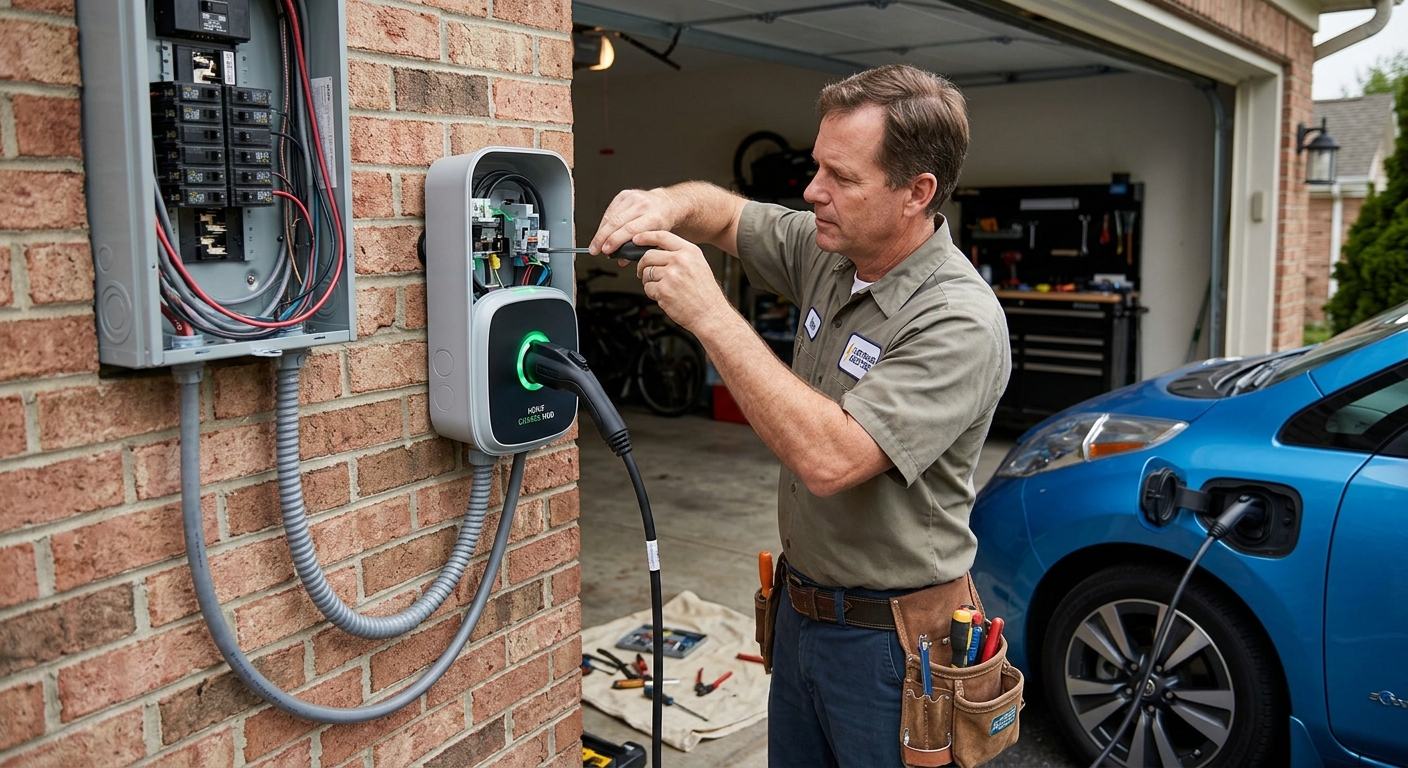
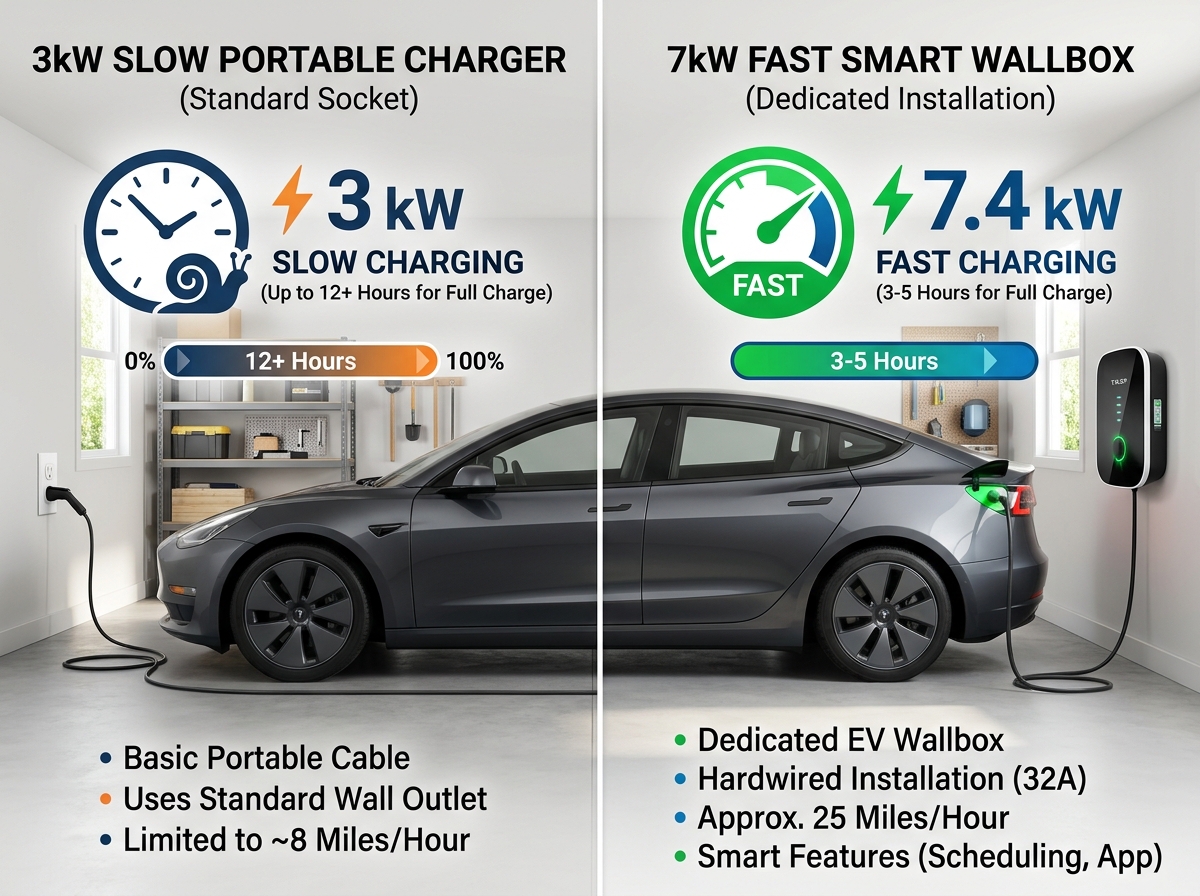
Upgrading to a Level 2 home EV charger is the gold standard for electric vehicle (EV) ownership, allowing you to charge 5 to 10 times faster than a standard 120-volt wall outlet. However, many prospective EV drivers worry that setting up 240-volt home charging infrastructure is overly complex, invasive, or disruptive to their homes.
The short answer is no, installing a home EV charger is generally not difficult, provided you hire a licensed electrician to handle the high-voltage electrical work.
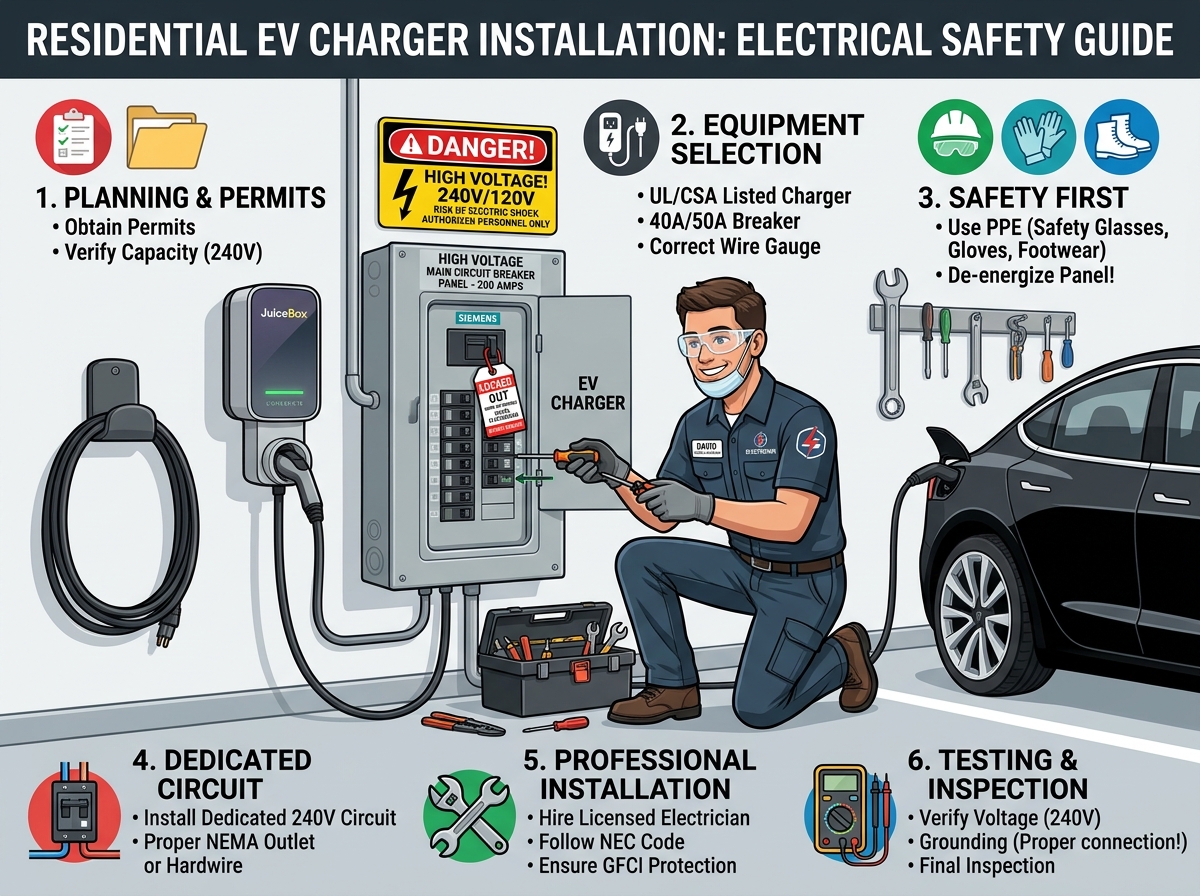
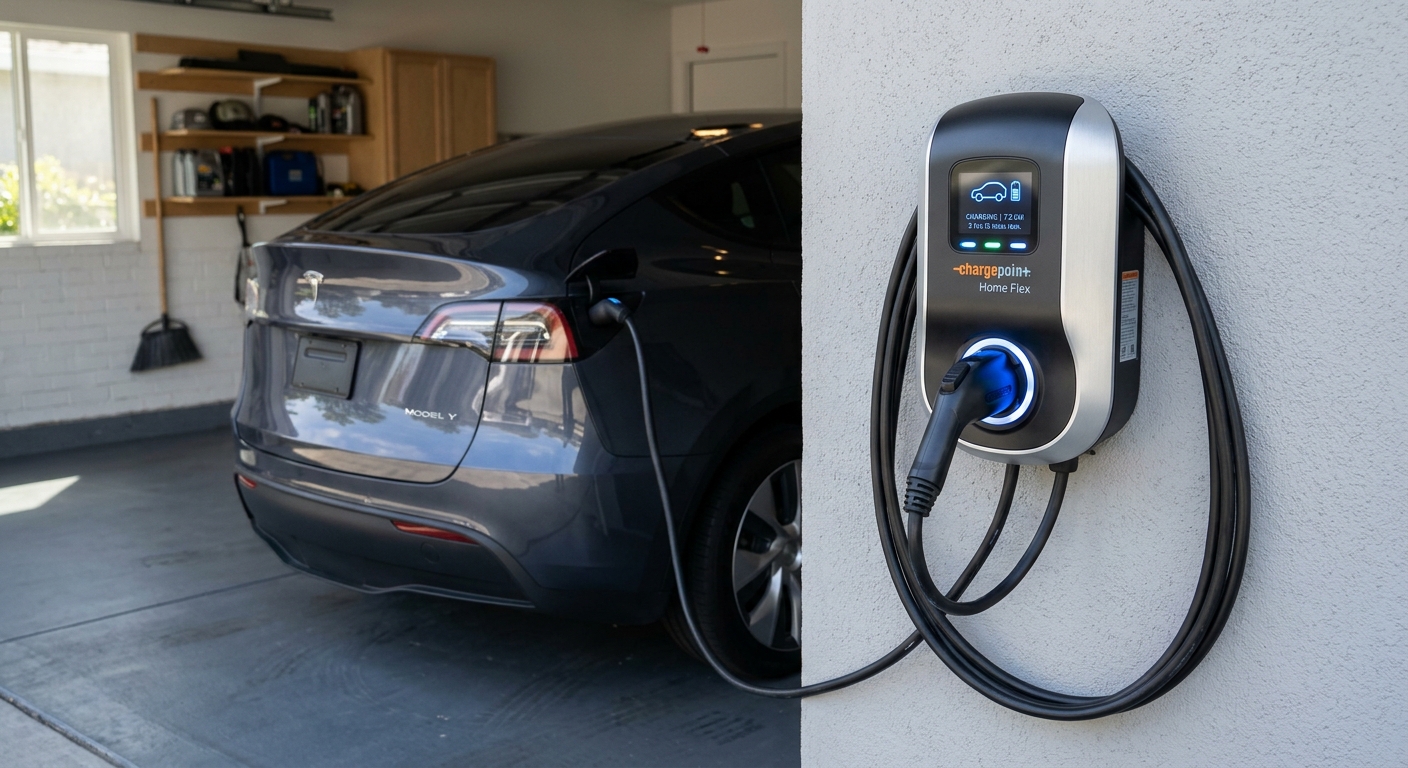
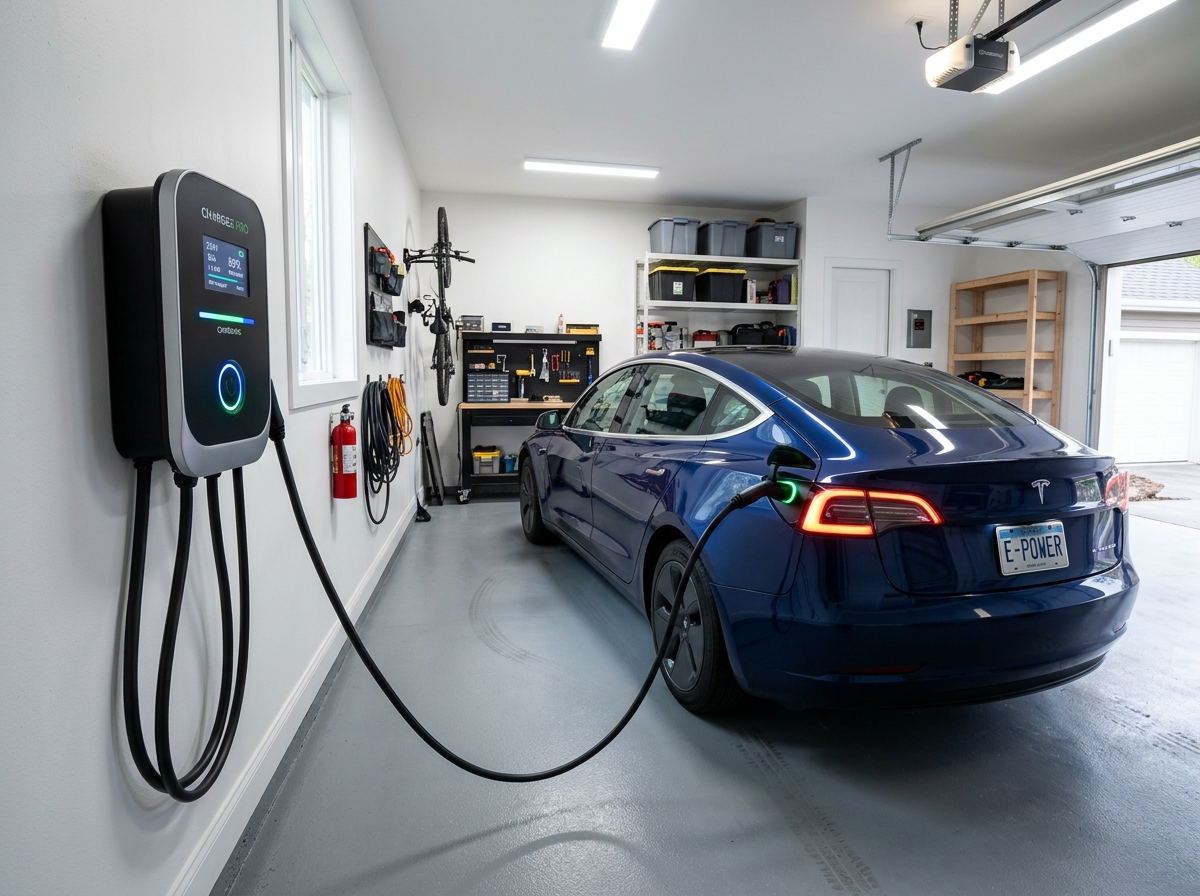
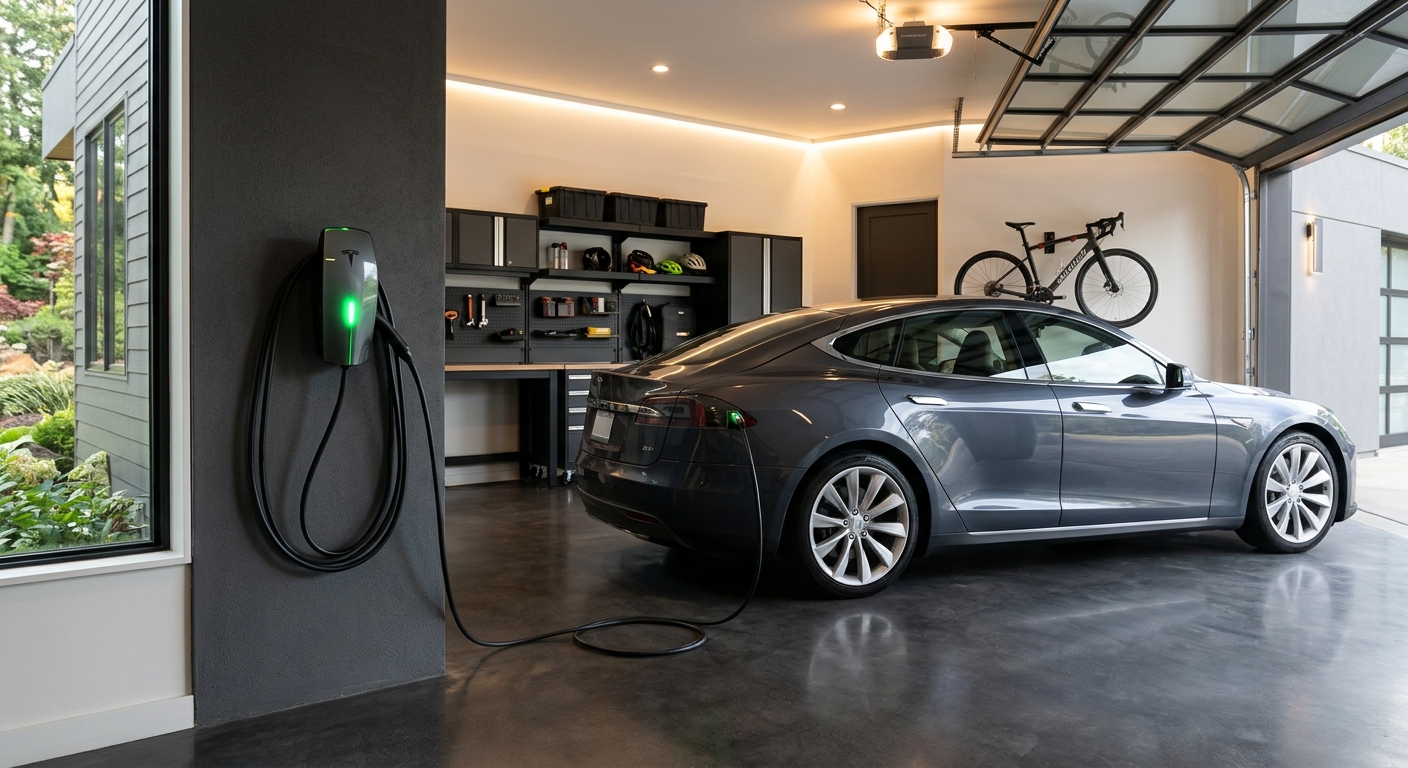
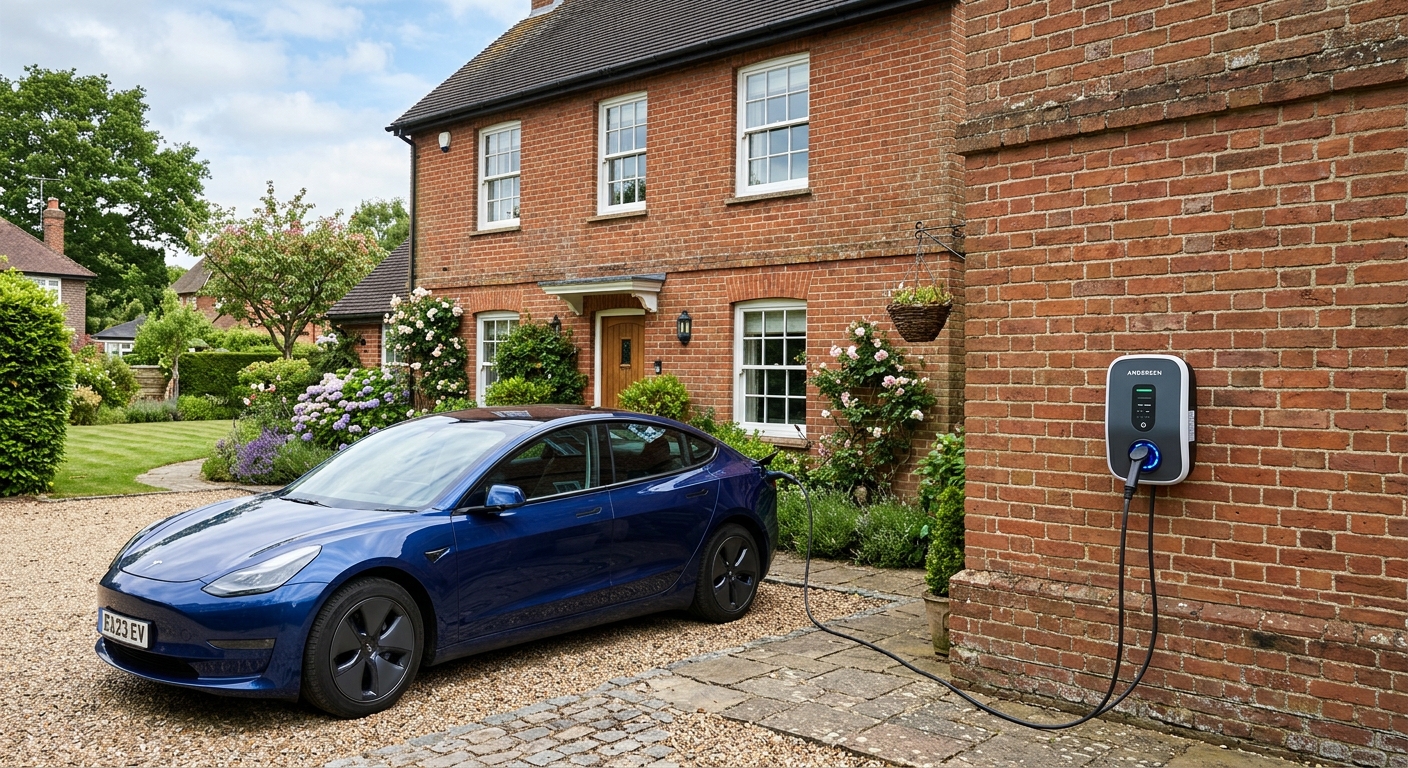
For a standard residential setup, installing a Level 2 charger is a straightforward project that takes a qualified electrician 2 to 3 hours to complete, assuming your property has a modern electrical panel with sufficient amperage capacity and accessible off-street parking.
For detailed installation guides, hardware reviews, and panel capacity calculators, visit EV Charger Advisor.
The 3 Steps of a Home EV Charger Installation
When working with a certified professional electrician, the installation process typically follows a predictable 3-step workflow:
1. Electrical Load Calculation & Inspection
Before mounting hardware, an electrician evaluates your main breaker panel to verify that your home’s total electrical service (e.g., 100A, 150A, or 200A main service) can accommodate a dedicated 40A to 60A double-pole circuit breaker without overloading the grid connection.
2. Conduit & Wiring Installation
The technician runs heavy-gauge copper conductors—typically #6 AWG or #4 AWG wire depending on whether you choose a 50A or 60A breaker—from the electrical panel to your desired charging location inside the garage or on an exterior wall.
3. Wallbox Mounting & Final Testing
The electrician securely mounts the Level 2 charger wallbox, hardwires the electrical leads (or connects a high-grade NEMA 14-50 receptacle), tests voltage delivery and grounding safety, and ensures the installation complies with local building codes and National Electrical Code (NEC) guidelines.
To learn more about how charger power ratings and plug styles compare, check out our guide on EV charging types.
Factors That Can Make an Installation More Complex
While a basic installation takes only 2 to 3 hours, certain residential site conditions can add complexity, labor time, and material expenses:
1. Electrical Panel Capacity & Service Upgrades
If your home operates on an older 100-Amp main electrical panel that is already heavily loaded with major appliances (such as central AC, electric water heaters, and hot tubs), an electrician may need to upgrade your main service panel to 200 Amps or install a smart energy load management device before adding a charger.
2. Long Distance Between Panel and Charger Location
If your breaker panel is located in a basement or on the opposite side of the house from your garage or parking pad, the electrician must run heavy copper wire through finished walls, attics, or exterior conduit lines, increasing total labor hours and material costs.
3. Trenching for Outdoor Parking Pads or Pedestrials
If you lack an attached garage and must install the charger on a standalone outdoor post or detached driveway, underground trenching and conduit burial will be required.
To explore Wi-Fi-enabled smart chargers that offer dynamic load balancing, read our guide on smart chargers.
Step-by-Step Mathematical Example: Labor Hours & Cost Breakdown
To understand how difficulty translates into installation timelines and costs, let us look at a mathematical breakdown comparing a Standard Garage Installation versus a Complex Extended-Run Installation.
Given Rates:
-
Electrician Labor Rate: $100 \text{ per hour}$
-
Heavy Gauge Wire & Conduit Cost: $6 \text{ per linear foot}$
-
Smart Level 2 Charger Hardware: $500$
Scenario A: Standard Garage Installation ($15\text{ ft}$ Wire Run)
Scenario B: Complex Extended Installation ($75\text{ ft}$ Wire Run across Finished Basement)
Result Breakdown: While a simple setup takes under 3 hours and costs under $900, long wire runs and conduit routing increase labor duration to 6 hours, pushing total expenses to $1,650.
Installation Complexity Matrix
| Installation Scenario | Typical Labor Duration | Complexity Rating | Key Requirements |
| Standard Garage Setup | 2 – 3 Hours | Low / Easy | Panel nearby in garage, 200A panel capacity available |
| Long Conduit Run | 4 – 6 Hours | Moderate | Running heavy wire across basements, crawlspaces, or attics |
| Panel Service Upgrade | 6 – 8 Hours | High | Upgrading main electrical panel service from 100A to 200A |
| Outdoor Trenching | 1 – 2 Days | Complex | Digging underground trenches for detached driveways or pedestals |
Summary & Key Takeaways
-
Quick Professional Job: A basic Level 2 charger installation takes a licensed electrician just 2 to 3 hours.
-
Panel Capacity Is Key: Ensure your home has sufficient breaker space and overall electrical amperage before purchasing hardware.
-
Hire a Licensed Electrician: Handling high-voltage 240V circuits requires professional permits, proper torque specifications, and strict adherence to local building codes.
-
Hardwiring Saves Time & Money: Choosing a direct hardwired wallbox connection often simplifies installation by eliminating the need for expensive industrial NEMA 14-50 outlets and GFCI breakers.

Leave a Reply