
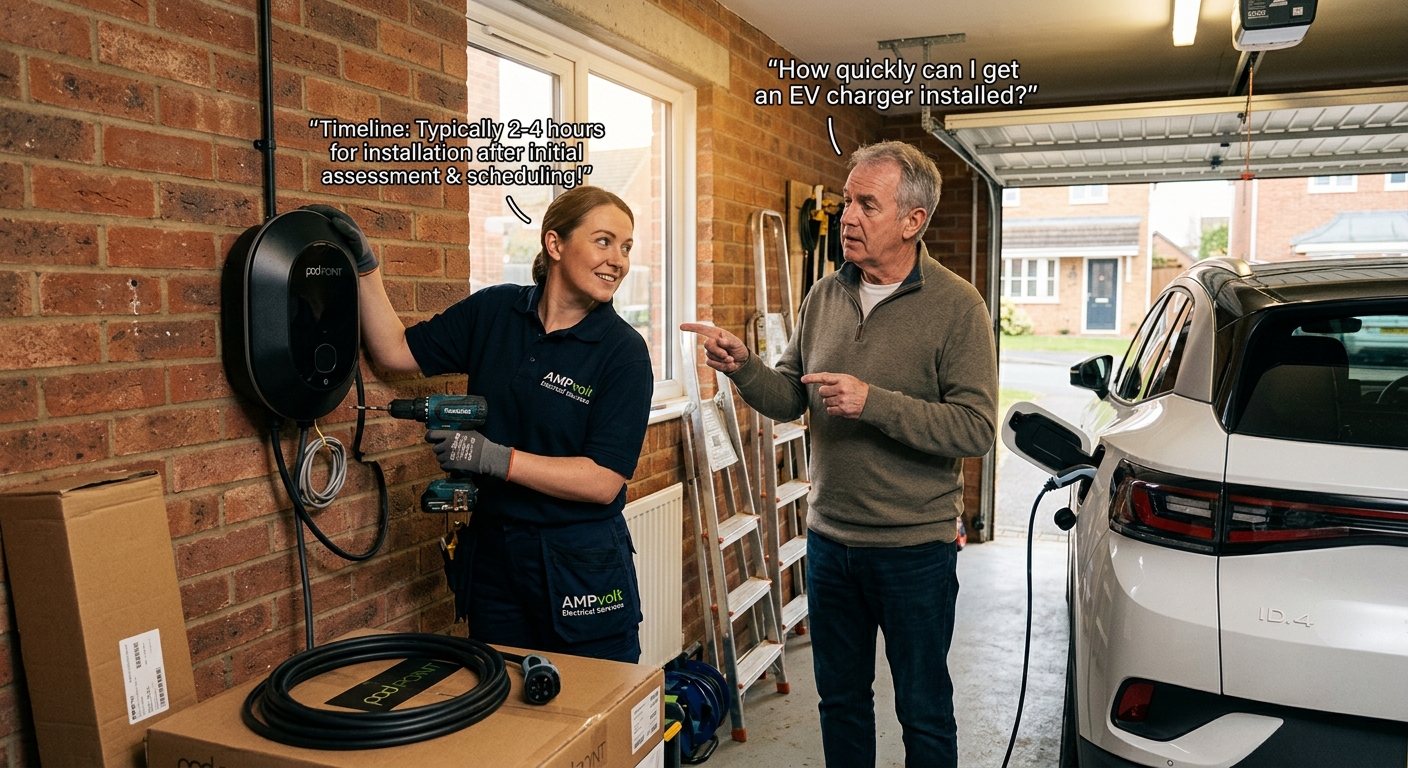
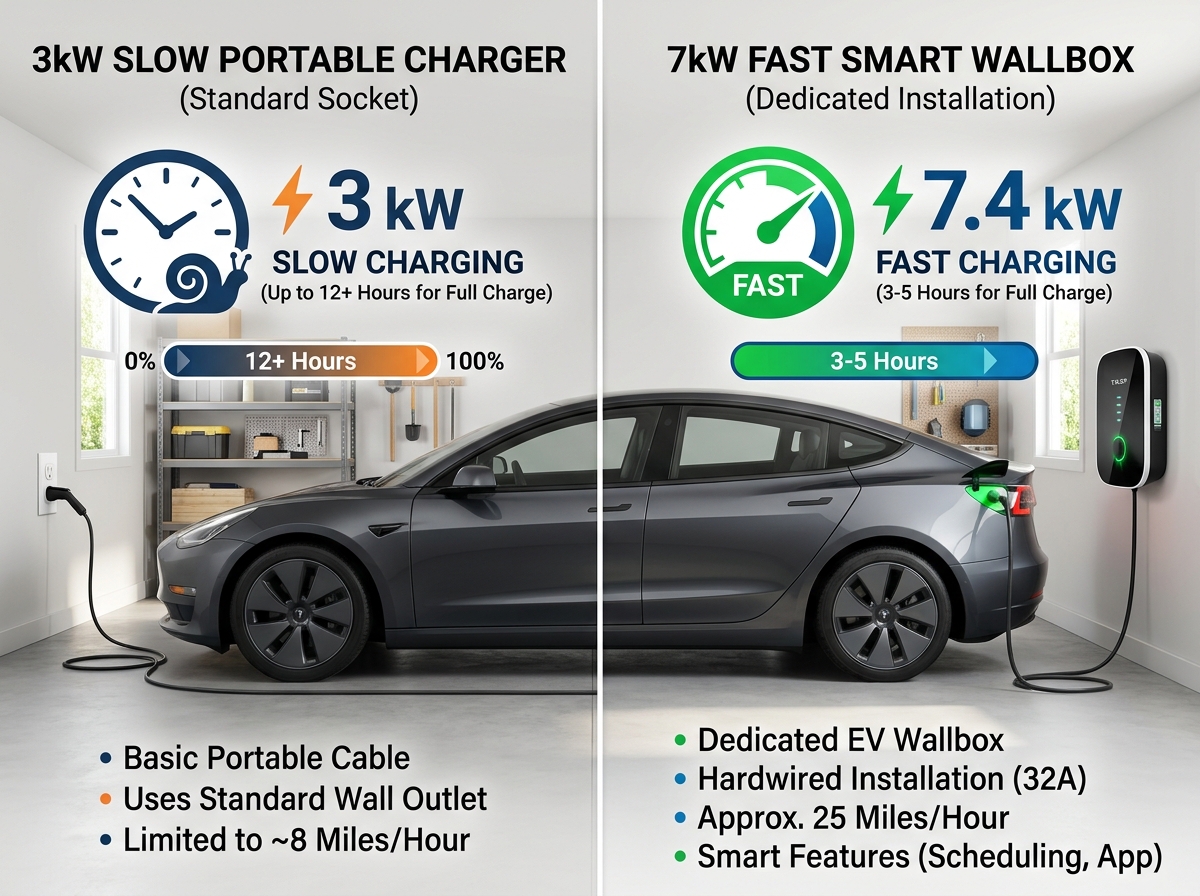
Taking delivery of a new electric vehicle is an exciting milestone, but getting your home setup ready for daily driving requires establishing a fast Level 2 charging system. Operating on a $240\text{-volt}$ single-phase branch circuit, a home Level 2 wallbox adds 20 to 44 miles of driving range per hour—ensuring your battery is fully replenished every morning. However, when coordinating your vehicle delivery date, new owners frequently ask: How quickly can I get an EV charger installed?
The short answer is: a standard home EV charger installation takes 2 to 4 hours on-site, while the total timeline from scheduling to full commissioning usually takes 1 to 3 weeks.
Understanding the sequential steps—from initial electrician site surveys and municipal permit approvals to physical installation day and final utility sign-offs—ensures you can accurately plan your charging setup without facing charging delays.
For complete hardware reviews, panel load calculators, and installer guides, visit EV Charger Advisor.
1. Total Project Timeline Breakdown (Week-by-Week)
While the physical work of mounting a charger and pulling wire takes less than half a day, the end-to-end timeline involves several administrative and scheduling phases:
Phase 1: Pre-Installation Assessment & Hardware Selection (Days 1 – 3)
-
Select Your EV Charger: Choose between plug-in or hardwired units matching your vehicle’s maximum acceptance rate ($350–$900).
-
Request Electrician Quotes: Submit photos of your main panel box, garage layout, and desired mounting location to licensed electrical contractors.
-
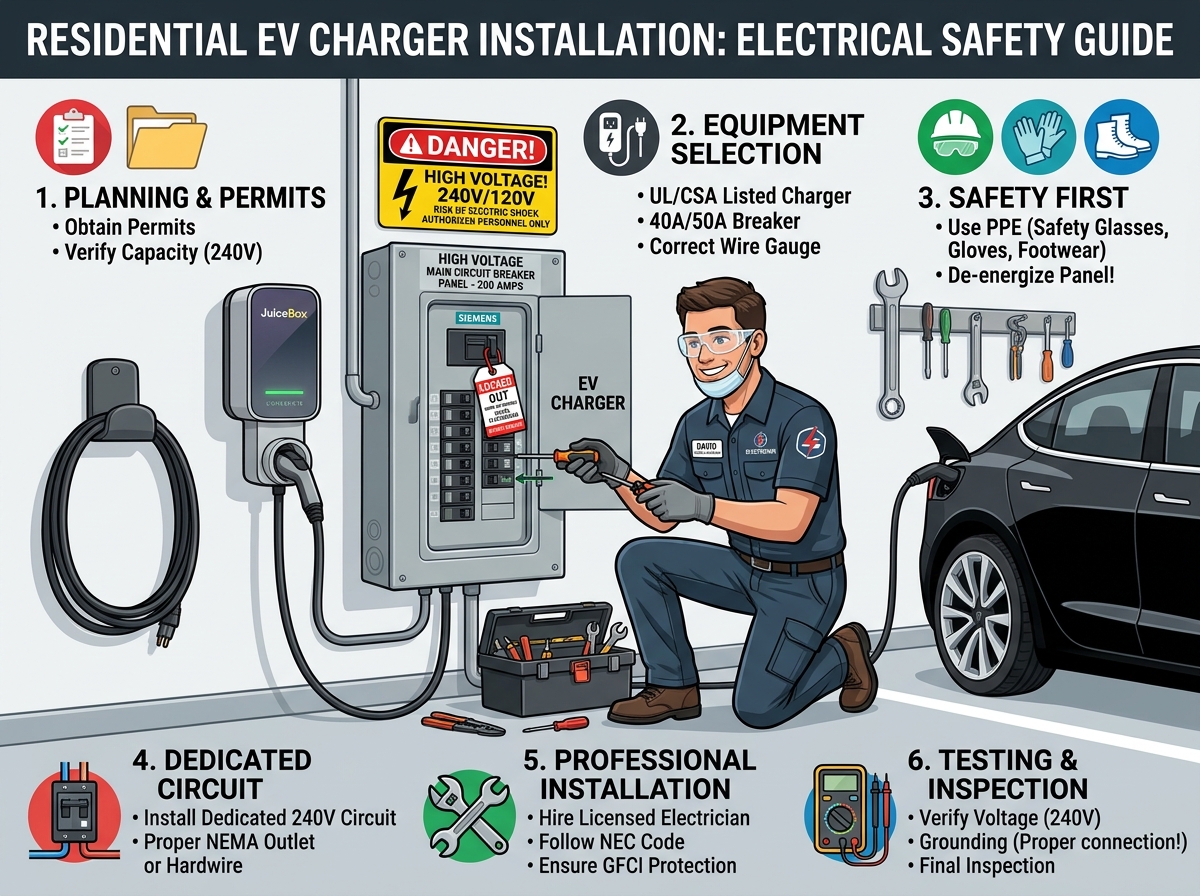
NEC Article 220 Load Calculation: The electrician evaluates your panel capacity headroom to determine if your main service can support a 40A, 50A, or 60A circuit breaker.
Phase 2: Municipal Permitting & Materials Sourcing (Days 4 – 10)
-
Permit Application: Most cities require pulling an electrical permit ($50–$200) prior to high-voltage branch circuit work. Permit approval times vary from 24 hours to 7 business days depending on local municipal building departments.
-
Material Procurement: Securing heavy-gauge copper conductors (#6 AWG THHN in conduit or #6 AWG Romex) and breakers.
Phase 3: On-Site Electrician Installation Day (Day 10 – 14 | 2 to 4 Hours)
-
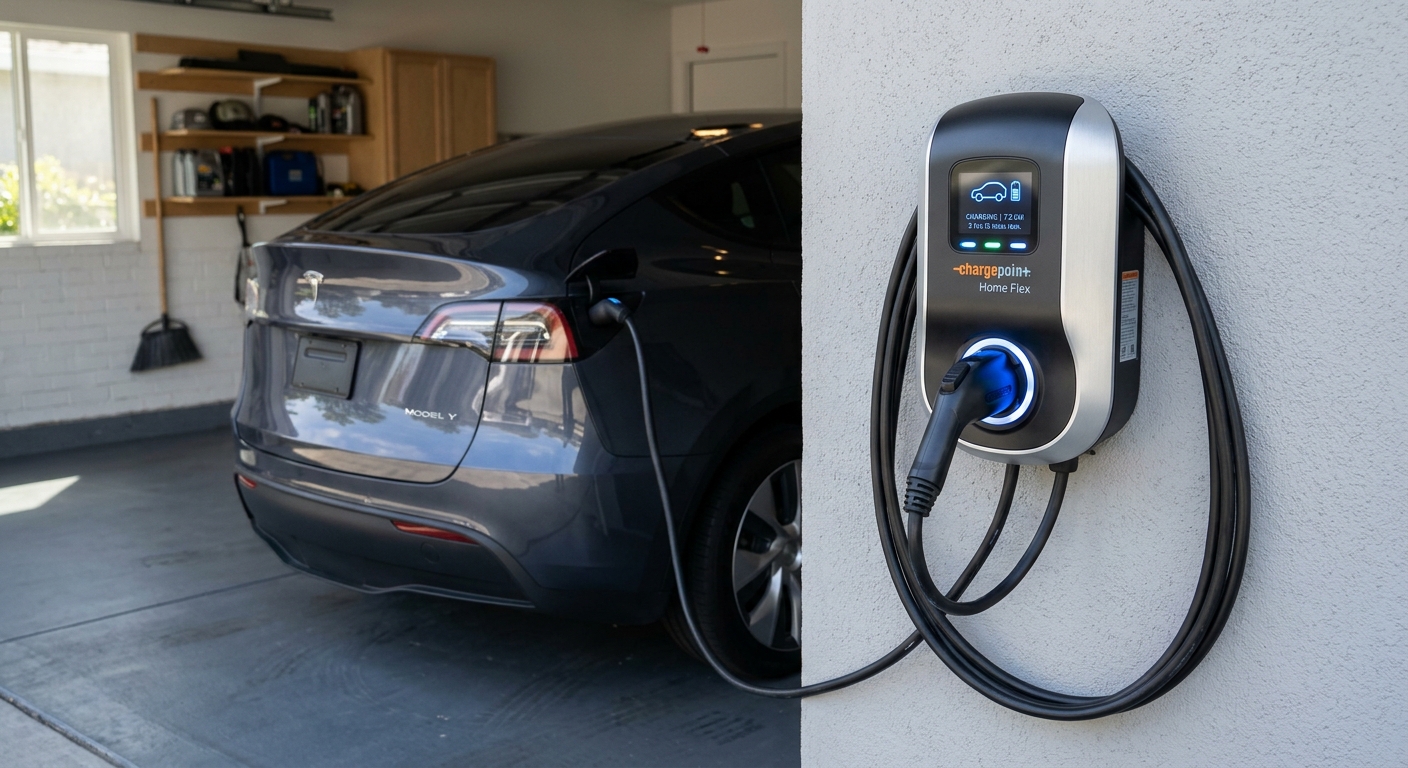
The electrician performs the physical installation, mounts the wallbox, routes conduit, installs the breaker, and torques all terminal connections.
Phase 4: Municipal Inspection Sign-Off & Utility Rebate Claim (Days 14 – 21)
-
A local municipal building inspector visits to sign off on code compliance, keeping your homeowners insurance valid and unlocking utility rebates.
To learn more about how charger power levels and wire sizes compare, check out our guide on EV charging types.
Step-by-Step Mathematical Example: Project Lead Time vs. On-Site Labor
Let us analyze the time and labor cost metrics for a Standard 60A Hardwired Installation ($11.52\text{ kW}$ output) located 15 feet from the main electrical panel.
Given Project Parameters:
-
On-Site Physical Labor Duration ($T_{\text{site}}$): $3 \text{ Hours}$
-
Electrician Hourly Rate ($R_{\text{labor}}$): $\$125 / \text{hour}$
-
Administrative & Permit Wait Time ($T_{\text{admin}}$): $7 \text{ Business Days}$
-
Inspector Schedule Lead Time ($T_{\text{inspect}}$): $3 \text{ Business Days}$
Calculation 1: On-Site Labor Cost Math
Calculation 2: Total Lead Time Elapsed (Calendar Days)
Result Breakdown: Although the electrician spends only 3 hours ($375 labor) working in your garage on installation day, the end-to-end timeline from initial survey to final inspection requires approximately 11 business days.
To explore Wi-Fi-enabled smart wallboxes that support dynamic app management, read our guide on smart chargers.
Factors That Can Speed Up or Delay Your Installation
Depending on your home’s setup, several variables can shorten or extend your installation speed:
Fast-Track Setups (Under 1 Week)
-
Existing 240V Outlet Available: If your garage already features an industrial-grade NEMA 14-50 receptacle on an adequate panel, installation simply requires mounting the unit and plugging in.
-
Over-the-Counter Municipal Permits: Municipalities that offer instant online electrical permit processing eliminate waiting periods.
-
Panel Located Nearby: Mounting the charger right next to the main panel reduces cable pulling time to under 2 hours.
Delayed Setups (3 to 5+ Weeks)
-
100A Service Panel Upgrades: If your panel lacks continuous capacity, upgrading to a 200A service panel requires utility disconnect coordination, adding 1 to 3 weeks.
-
Complex Wire Runs & Trenching: Running conduit through finished drywall or digging underground trenches to a detached carport adds significant labor hours.
Comparison Table: EV Charger Installation Timelines by Complexity
| Installation Scenario | On-Site Labor Hours | Admin & Permit Wait | Total End-to-End Timeline |
| Plug-In (Existing 240V Outlet) | 1 – 2 Hours | None | 1 – 3 Days |
| Standard Hardwired (< 20ft Run) | 2 – 4 Hours | 3 – 7 Days | 1 – 2 Weeks |
| Long Cable Run / Trenching | 4 – 6 Hours | 5 – 10 Days | 2 – 3 Weeks |
| Panel Service Upgrade (100A to 200A) | 6 – 8+ Hours | 10 – 20 Days | 3 – 5 Weeks |
Summary & Key Takeaways
-
2 to 4 Hours On-Site: Physical on-site installation by a licensed electrician takes only 2 to 4 hours for standard garage setups.
-
1 to 3 Weeks Total Lead Time: Factoring in site surveys, quotes, permit approvals, and inspector sign-offs, plan for a 1 to 3-week overall process.
-
Panel Upgrades Extend Timelines: If a panel upgrade to 200A is required, utility coordination can add several weeks to your project schedule.
-
Schedule Early: Start contacting licensed electricians and pulling permits 2 to 3 weeks before your new electric vehicle arrives.

Leave a Reply