
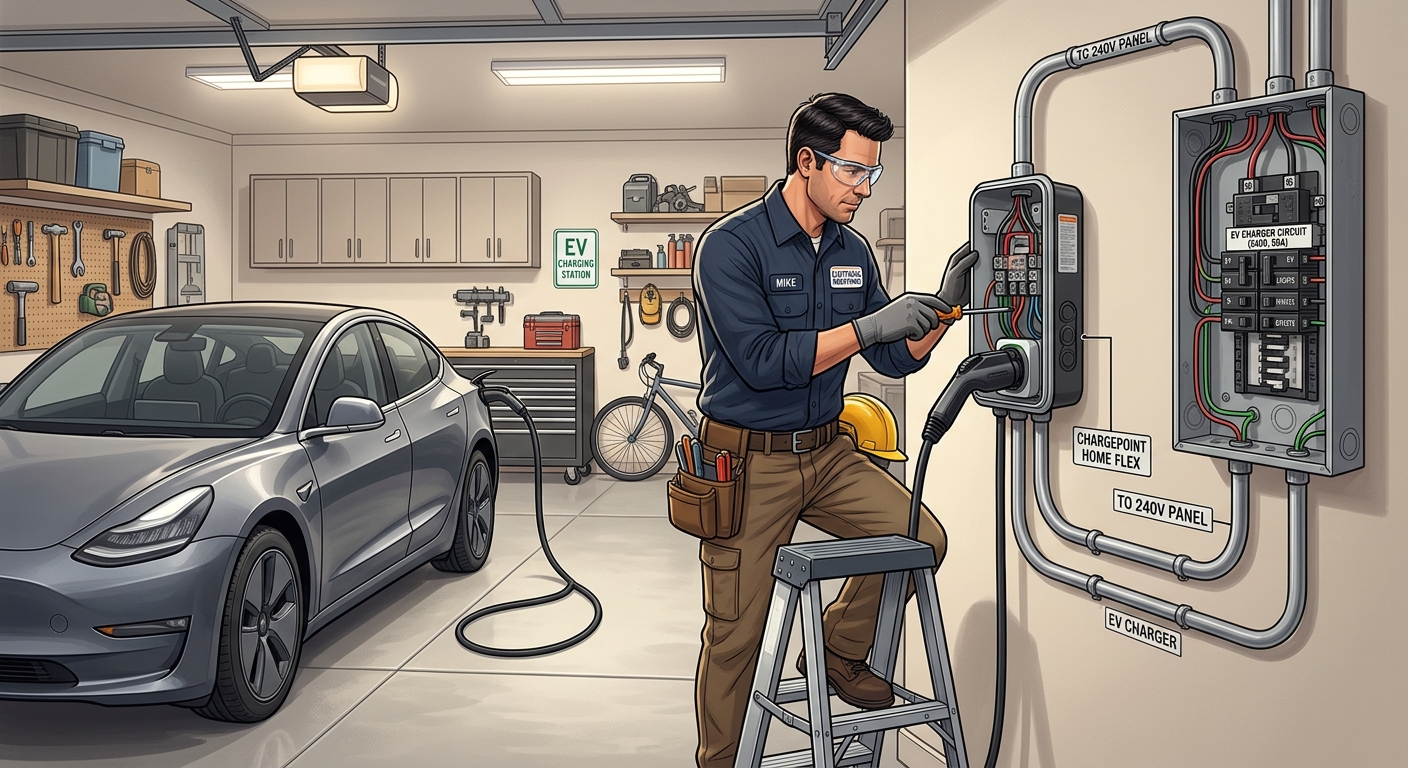
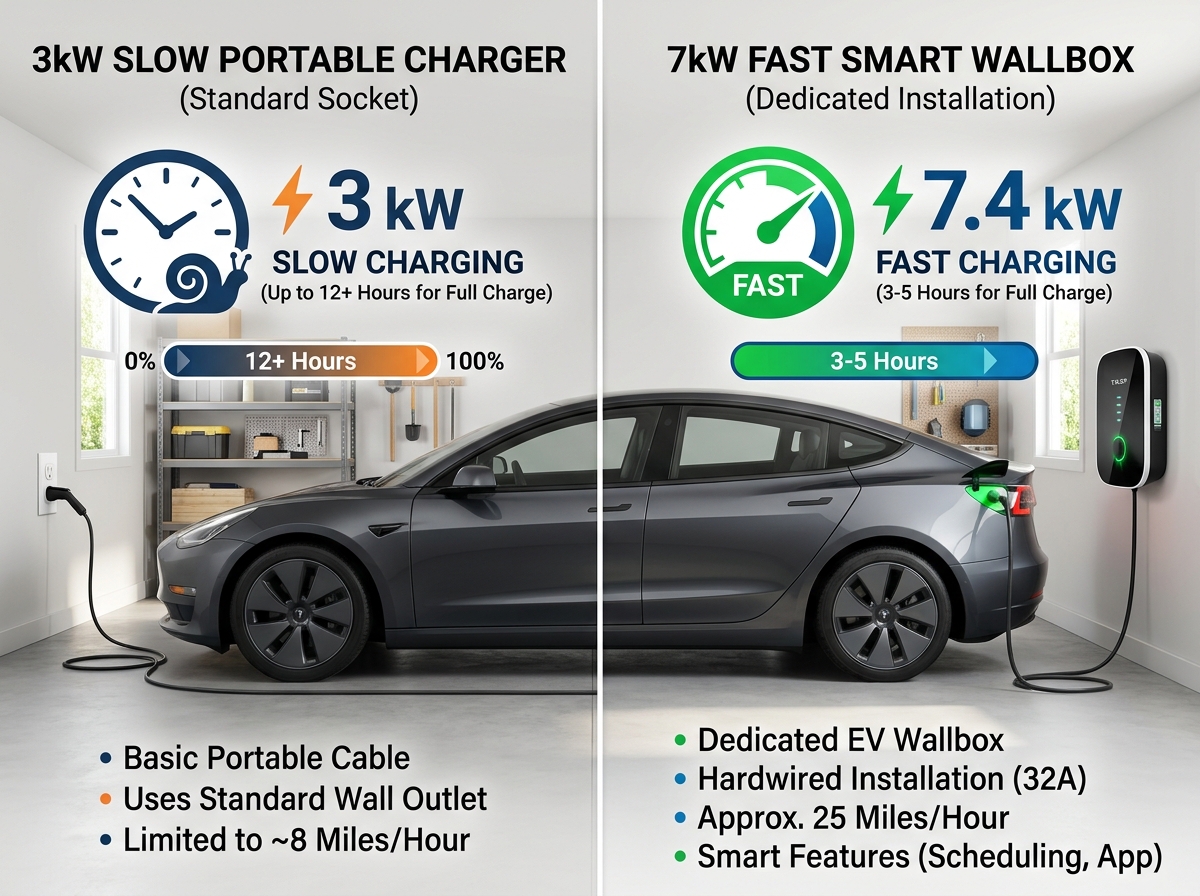
Upgrading to an electric vehicle (EV) provides quiet performance, lower operating costs, and predictable home refueling. Installing a residential Level 2 charging wallbox restores 20 to 44 miles of driving range per hour over a high-voltage 240-volt single-phase branch circuit. While the physical unit itself is compact and straightforward to mount, homeowners frequently evaluate the technical complexity involved in the installation process. A common technical question arises: Is it hard to install a Level 2 EV charger?
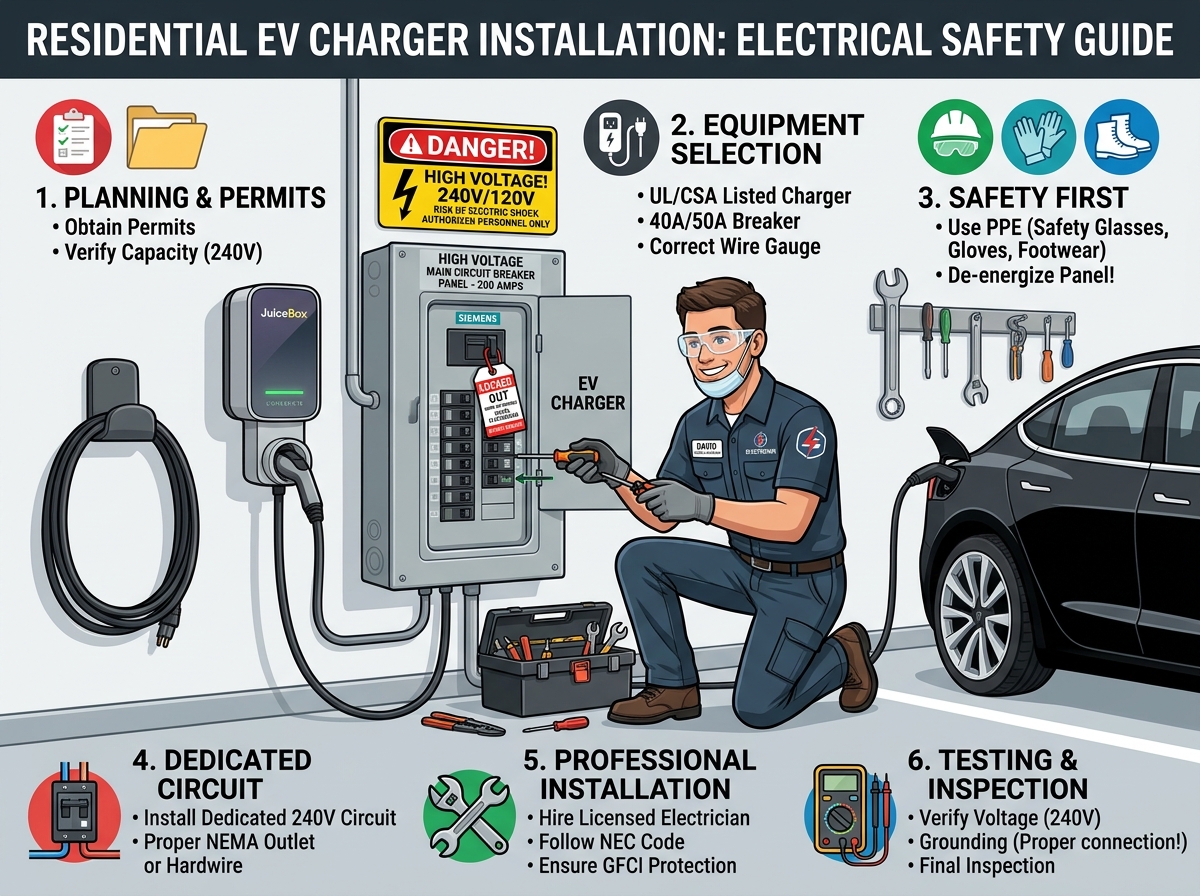
Installing a Level 2 EV charger is considered moderately difficult for a qualified licensed electrician, but it is highly complex and hazardous as a DIY project for an unlicensed homeowner. The difficulty does not stem from mounting the wallbox, but from working with 240V high-amperage continuous loads, conducting panel capacity calculations, pulling thick gauge wire, and complying with electrical codes.
Under National Electrical Code (NEC Article 625) standards, managing continuous load safety rules, conductor thermal limits, and main service panel headroom determines the true scope and difficulty of an installation.
For complete hardware reviews, installer guides, and panel load calculators, visit EV Charger Advisor.
1. Why Level 2 Installation Complexity Is Moderately High
Installing a Level 2 charger involves significantly more work than simply plugging an appliance into a standard wall outlet. Key technical factors determine the difficulty level:
A. Managing High-Voltage 240V Continuous Loads
-
Continuous Duty Rules (NEC 625.42): Unlike household appliances that cycle on and off, an EV charger draws maximum power continuously for several hours. Under NEC rules, circuit breakers and wiring must be oversized to 125% of the charger’s continuous draw:
-
48-Amp Continuous Charger (11.52 kW): Requires a dedicated 60-Amp double-pole circuit breaker and heavy #6 AWG copper wire.
-
32-Amp Continuous Charger (7.68 kW): Requires a dedicated 40-Amp double-pole circuit breaker and #8 AWG copper wire.
-
-
Physical Wire Handling: Bending and routing thick #6 or #8 AWG conductors through rigid conduit or tight garage wall cavities requires heavy-duty tools and professional physical effort.
B. Electrical Panel Capacity & Load Calculations
-
NEC Article 220 Load Checks: Before adding a 40A or 60A breaker, an electrician must calculate existing household demand (HVAC, water heaters, kitchen ranges) to prevent main panel overloads.
-
Capacity Constraints: On older 100-amp main service panels, adding a Level 2 charger can push the system past its safe operating limit. Installing an Electric Vehicle Energy Management System (EVEMS) under NEC 625.42 enables dynamic load management, avoiding an expensive main panel replacement.
To learn more about how charger power levels and wire sizes compare, check out our guide on EV charging types.
2. Hardwired vs. Plug-In (NEMA 14-50) Difficulty Levels
The chosen physical connection method directly influences overall installation complexity:
INSTALLATION CONNECTION PATHWAYS:
[Main Electrical Panel] ──► [Dedicated 240V Double-Pole Breaker]
                                       │
         ┌─────────────────────────────┴─────────────────────────────┐
         ▼                                                           ▼
[Hardwired Connection]                                    [Plug-In Receptacle]
 (Conduit ──► Terminal Block)                              (Industrial NEMA 14-50 Socket)
   • Supports max 48A (11.52 kW)                            • Caps output at 40A (9.60 kW)
   • Bypasses GFCI breaker costs                            • Requires 240V GFCI breaker (NEC 625.54)
   • Lower long-term wear risk                              • Risk of receptacle heat degradation
A. Plug-In Installation (Moderate Difficulty)
-
Requires mounting an industrial-grade NEMA 14-50 receptacle in an enclosure.
-
Requires installing an upstream 2-pole GFCI circuit breaker in the main panel under NEC 625.54.
-
Capped at 40-Amp continuous output (9.60 kW).
B. Hardwired Direct Installation (Preferred Professional Method)
-
Eliminates wall outlet connections by wiring circuit conductors directly into the charger’s internal terminal blocks.
-
Supports faster 48-Amp continuous output (11.52 kW).
-
Avoids costly 240V GFCI breakers, as listed wallboxes feature integrated internal ground-fault protection.
To explore Wi-Fi-enabled smart wallboxes engineered with integrated load management features, read our guide on smart chargers.
3. Key Challenges That Increase Installation Difficulty
While a simple installation where the electrical panel sits inside the garage near the charger takes 2 to 3 hours, specific site factors can increase difficulty:
-
Distance & Conduit Routing: Long conduit runs through finished drywall, attics, or crawlspaces increase wire pulling resistance and labor.
-
Exterior Trenching & Detached Garages: Underground runs require digging trenches to meet code burial depths and running liquid-tight or schedule 80 PVC conduit.
-
Service Panel Upgrades: If an existing panel lacks physical space or load capacity, replacing the main service panel adds significant labor, utility coordination, and structural complexity.
-
Permitting & Code Inspections: Pulling municipal electrical permits and scheduling inspections with local authorities having jurisdiction (AHJ) ensures full compliance.
Comparison Table: Level 2 Installation Difficulty Scenarios
| Site Scenario | Typical Time Required | Technical Complexity | Primary Work Involved |
| Adjacent Panel (Inside Garage) | 2 – 3 Hours | Moderate | Breaker install, short conduit, direct wire termination |
| Extended Wire Run (50+ Feet) | 4 – 6 Hours | Moderately High | Long conduit runs, heavy wire pulling, wall drilling |
| Panel Constrained + EVEMS | 4 – 5 Hours | High | CT clamp sensor installation, load manager config |
| Detached Garage / Trenching | 1 – 2 Days | Very High | Ground excavation, underground conduit, subpanel install |
Summary & Key Takeaways
-
Moderately Difficult for Electricians: For a licensed contractor, Level 2 installation is a standard, routine procedure taking 2 to 4 hours on typical sites.
-
Hazardous for DIYers: Working directly inside main electrical panels with high-amperage 240V circuits presents severe arc flash and shock risks.
-
Follow the NEC 125% Continuous Duty Rule: Circuit breakers and conductors must be sized to 125% of the charger’s rated output (e.g., 48A output requires a 60A breaker and #6 AWG copper wire).
-
Hardwiring Is Recommended: Direct hardwiring supports higher charging speeds (11.52 kW) while eliminating wall socket thermal wear and extra GFCI breaker costs.

Leave a Reply