
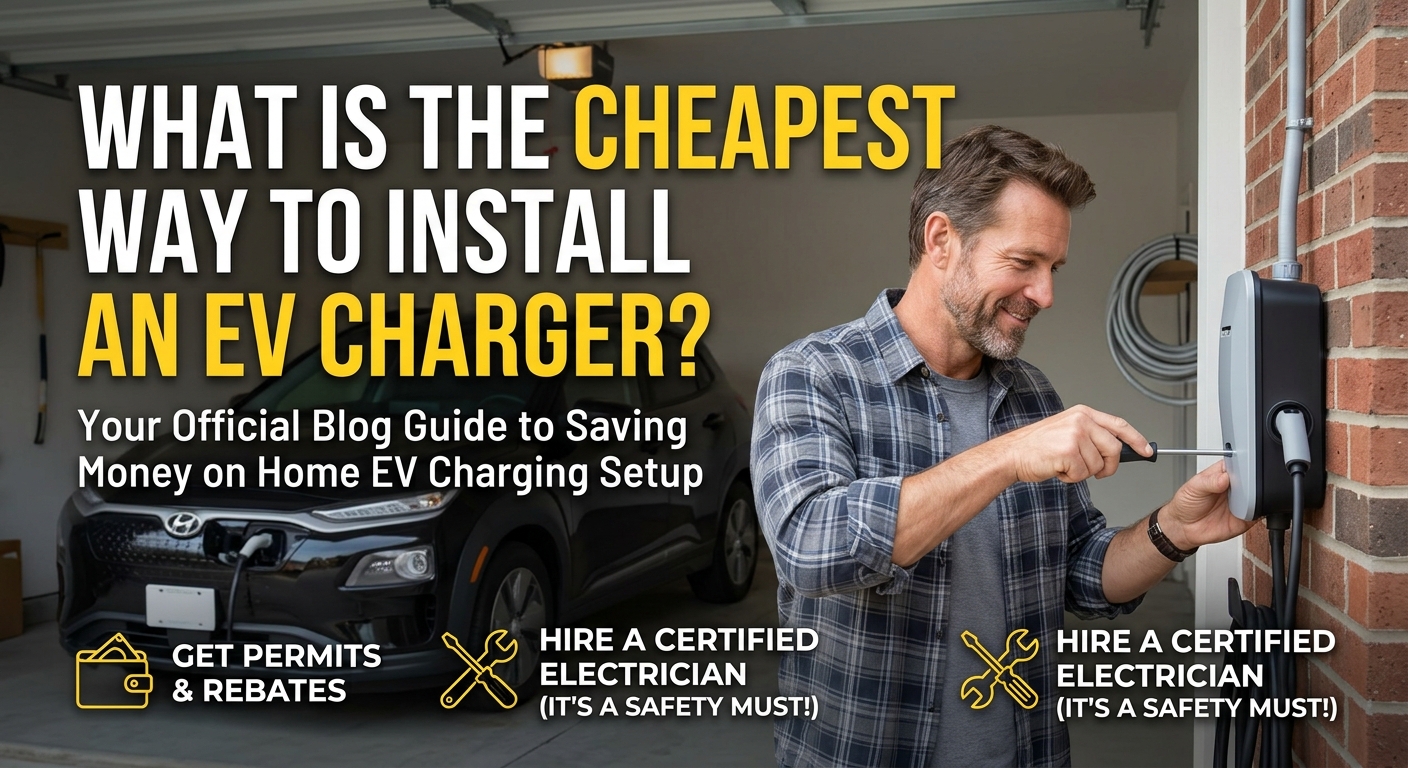
Switching to an electric vehicle (EV) offers massive fuel cost savings compared to internal combustion engine cars. Operating on a standard home power supply, home charging enables drivers to replenish their battery comfortably overnight while taking advantage of low residential electricity rates. However, as new owners review installer quotes and hardware prices, many ask: What is the cheapest way to install an EV charger?
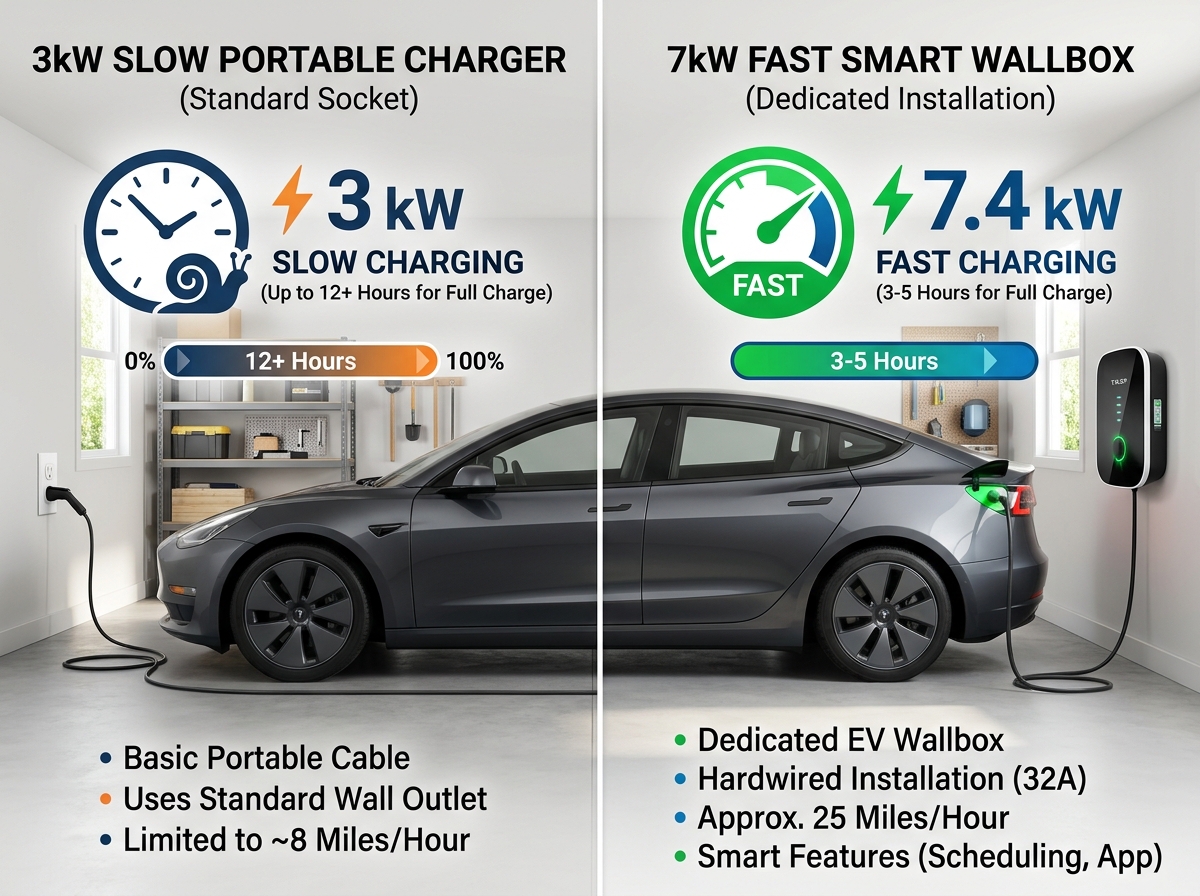
The short answer is: the cheapest way to install an EV charger is using a standard 3-pin or 110V/220V wall socket with the portable charger (often called a “granny charger” or Mode 2 cable) included with your car—costing $0 in installation expenses.
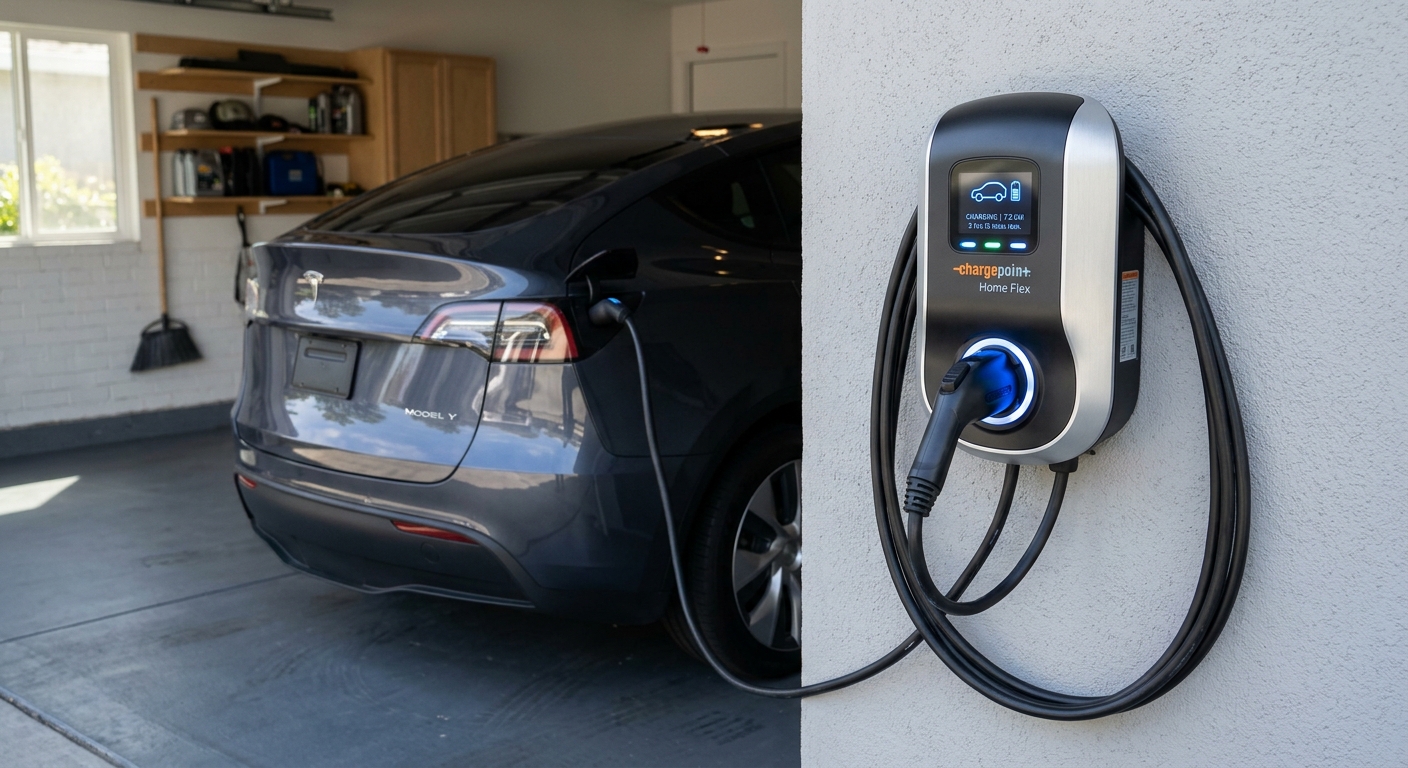
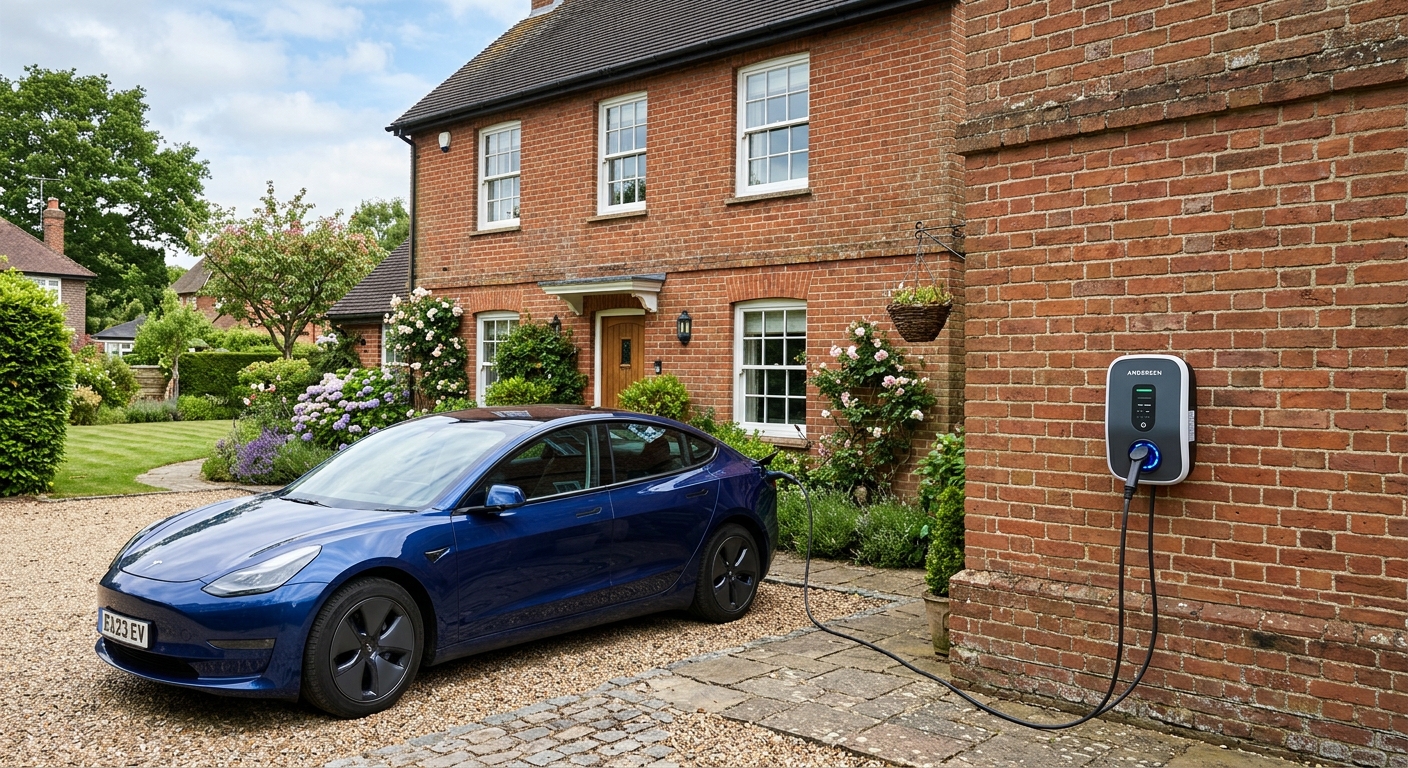
If a faster Level 2 ($7.4\text{ kW}$) wallbox is required, the cheapest installation strategy involves mounting a hardwired unit directly adjacent to your main circuit breaker panel, eliminating expensive copper wiring runs, panel upgrades, and socket receptacles.
For complete hardware reviews, installer guides, and panel load calculators, visit EV Charger Advisor.
1. Ranking EV Charging Installation Strategies by Cost
To understand how to minimize your upfront expenditure, consider these three cost tiers:
A. Tier 1: $0 Cost — Level 1 / Domestic Socket Trickle Charging
-
Total Cost: $0 (Zero Installation Fee)
-
How It Works: Plug the portable charging cable supplied with your vehicle directly into an existing standard $120\text{V}$ (North America) or $230\text{V}$ (UK/Pakistan) household socket.
-
Limitations: Restricts power to 10 Amps ($1.4\text{ kW} – 2.3\text{ kW}$), restoring approximately 4 to 8 miles of range per hour. Best suited for short daily commutes or plug-in hybrid electric vehicles (PHEVs).
B. Tier 2: Low-Cost Level 2 Setup ($500 – $800 USD / ~150,000 – 250,000 PKR)
-
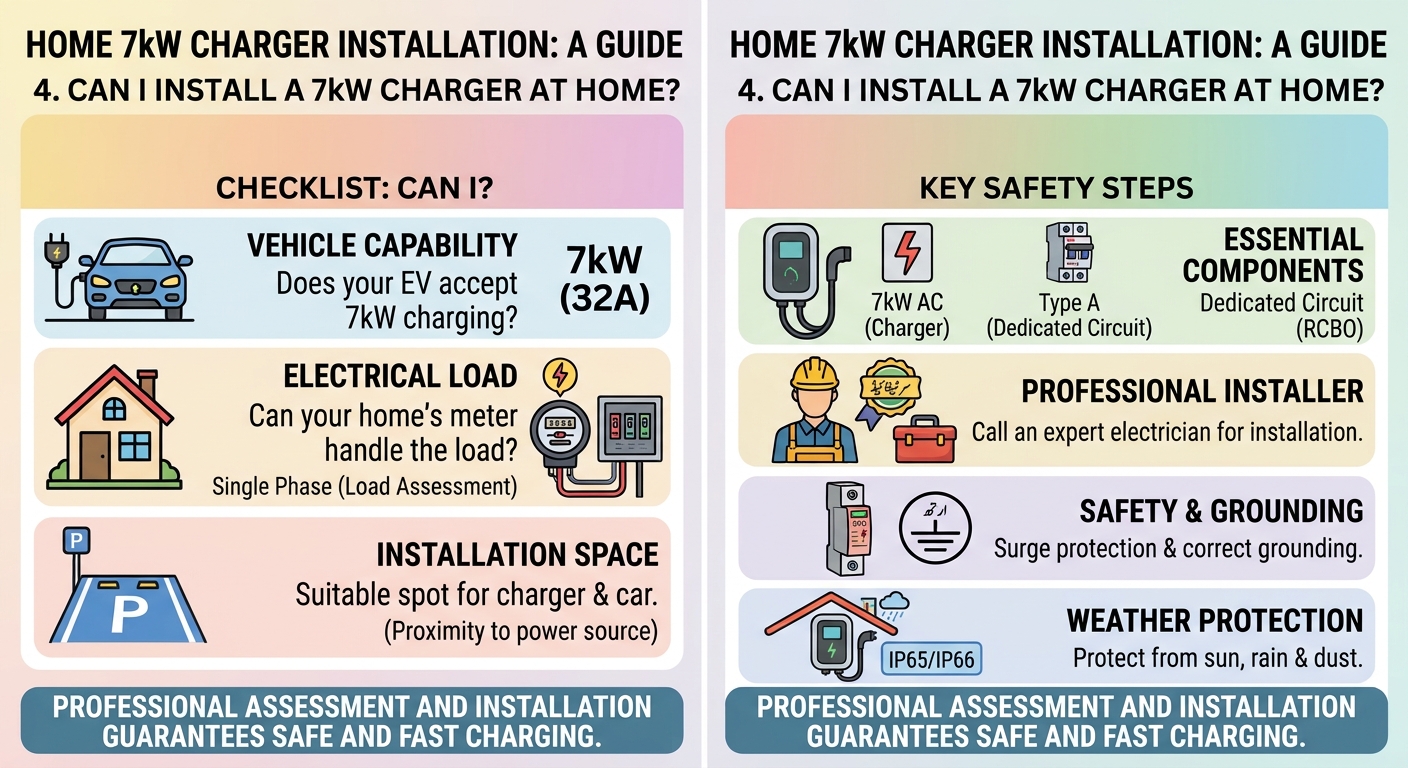
How It Works: Buy a standard 32A/40A wallbox and mount it within 3 to 5 feet of your main electrical panel.
-
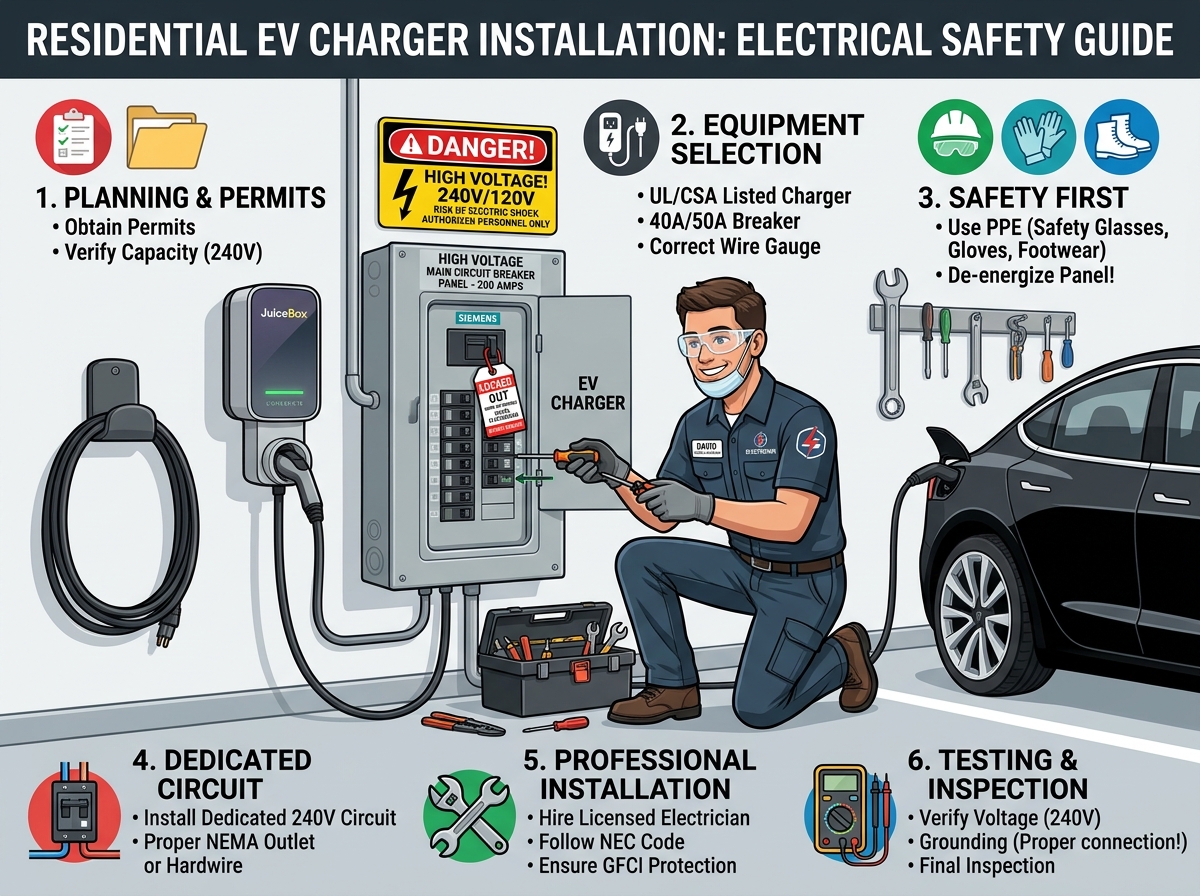
Cost-Saving Tip: Choosing a direct hardwired connection eliminates the need to purchase a costly 50A GFCI circuit breaker ($100+) and a heavy-duty NEMA 14-50 receptacle ($50+), reducing total electrician labor time.
C. Tier 3: High-Cost Level 2 Setup ($1,500 – $3,500+ USD)
-
Why It Is Expensive: Long wiring runs ($50+\text{ ft}$ across basements or attics), main electrical service panel upgrades (100A to 200A), underground driveway trenching, or complex sub-panel additions increase expenses substantially.
To learn more about how charger power levels and wire sizes compare, check out our guide on EV charging types.
2. Practical Tips to Minimize Level 2 Installation Costs
If you want the speed of a Level 2 charger without paying premium prices, apply these four cost-reduction techniques:
-
Mount Directly Next to the Main Panel: Keep cable runs under 10 feet. Heavy copper conductors (#8 or #6 AWG) and protective conduit add significant material expenses per foot.
-
Hardwire the Wallbox: Hardwiring directly into the breaker panel avoids buying expensive industrial-grade receptacles and specialized GFCI breakers required for plug sockets.
-
Avoid Main Panel Upgrades: If your 100A main panel lacks spare thermal capacity, downrate the charger’s software output (e.g., to 24A or 32A) or install an economical Load Shedder / EVEMS instead of paying thousands for a utility service panel upgrade.
-
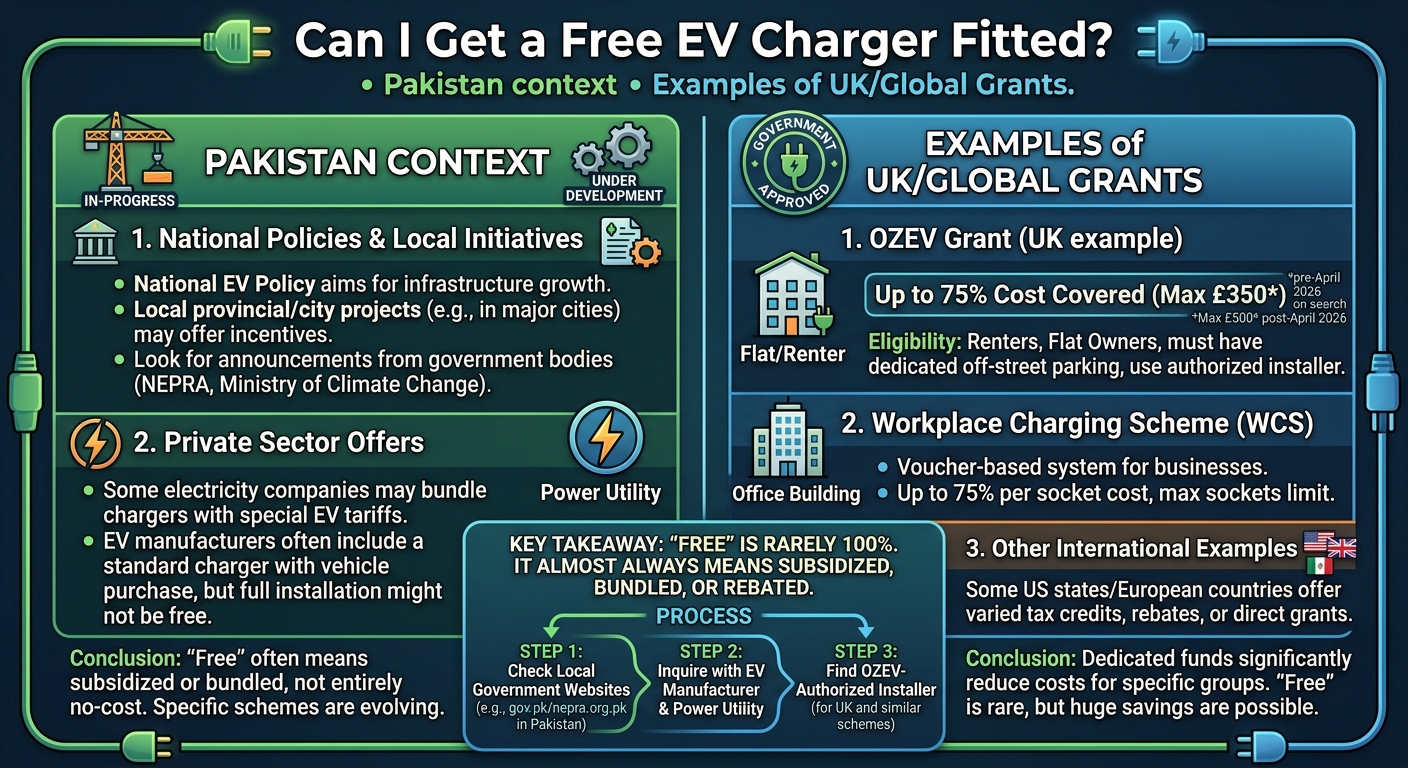
Claim Government & Utility Rebates: Check local utility incentives. Many power companies offer EV installation rebates, tax credits, or discounted off-peak electricity tariffs.
To explore Wi-Fi-enabled smart wallboxes with adjustable power settings, read our guide on smart chargers.
Step-by-Step Mathematical Example: Payback of $0 Level 1 vs. Fast Level 2
Let us perform a financial calculation comparing the $0 installation cost of a 10A continuous Level 1 setup against a $1,000 Level 2 home wallbox for a daily commute of 40 miles.
Given Parameters:
-
Daily Commute: $40 \text{ Miles}$
-
EV Efficiency: $3.5 \text{ Miles per kWh}$ ($0.285 \text{ kWh/mile}$)
-
Daily Energy Consumption: $\frac{40}{3.5} = \mathbf{11.43 \text{ kWh / day}}$
-
Level 1 Usable Output (230V / 10A): $2.02 \text{ kW net}$ $\rightarrow \frac{11.43\text{ kWh}}{2.02\text{ kW}} = \mathbf{5.65 \text{ Hours charging time}}$
-
Level 2 Usable Output (230V / 32A): $6.66 \text{ kW net}$ $\rightarrow \frac{11.43\text{ kWh}}{6.66\text{ kW}} = \mathbf{1.71 \text{ Hours charging time}}$
Financial Payback Comparison
Both setups utilize home electricity tariffs ($\$0.14/\text{kWh}$), costing $\$1.60 \text{ per day}$ in electricity.
Result Breakdown: If your daily driving requirement is under 50 miles, utilizing your existing household socket ($0 installation cost) replenishes your daily commute in under 5.7 hours overnight, making it the absolute cheapest charging method.
Comparison Table: EV Charger Installation Cost Methods
| Method | Upfront Cost (USD) | Upfront Cost (PKR) | Added Range per Hour | Installation Requirements |
| Existing Wall Socket (Level 1) | $0 | 0 PKR | $4 – 8 \text{ miles/hr}$ | None (Uses portable cord) |
| Short Run Hardwired Level 2 | $500 – $800 | 150k – 250k PKR | $25 – 30 \text{ miles/hr}$ | Wallbox mounted next to panel |
| Long Run / Plug Level 2 | $1,000 – $1,800 | 300k – 500k PKR | $25 – 44 \text{ miles/hr}$ | Long wire run + 14-50 plug |
| Panel Upgrade Level 2 | $2,500 – $4,500+ | 700k – 1,200k+ PKR | $30 – 44 \text{ miles/hr}$ | 200A service panel upgrade |
Summary & Key Takeaways
-
The Absolute Cheapest Way Is Level 1 ($0): Utilizing an existing household socket with the portable cable included with your vehicle costs nothing in installation fees.
-
Mount Near the Main Panel for Level 2: If installing a Level 2 wallbox, placing it adjacent to your electrical board minimizes copper wiring expenses.
-
Hardwiring Saves Money: Hardwiring directly into the breaker panel avoids buying expensive 14-50 receptacles and specialized GFCI circuit breakers.
-
Sufficient for Short Commutes: A standard household socket restores 40 to 80 miles of range during an overnight 10-to-12-hour plug-in session.

Leave a Reply